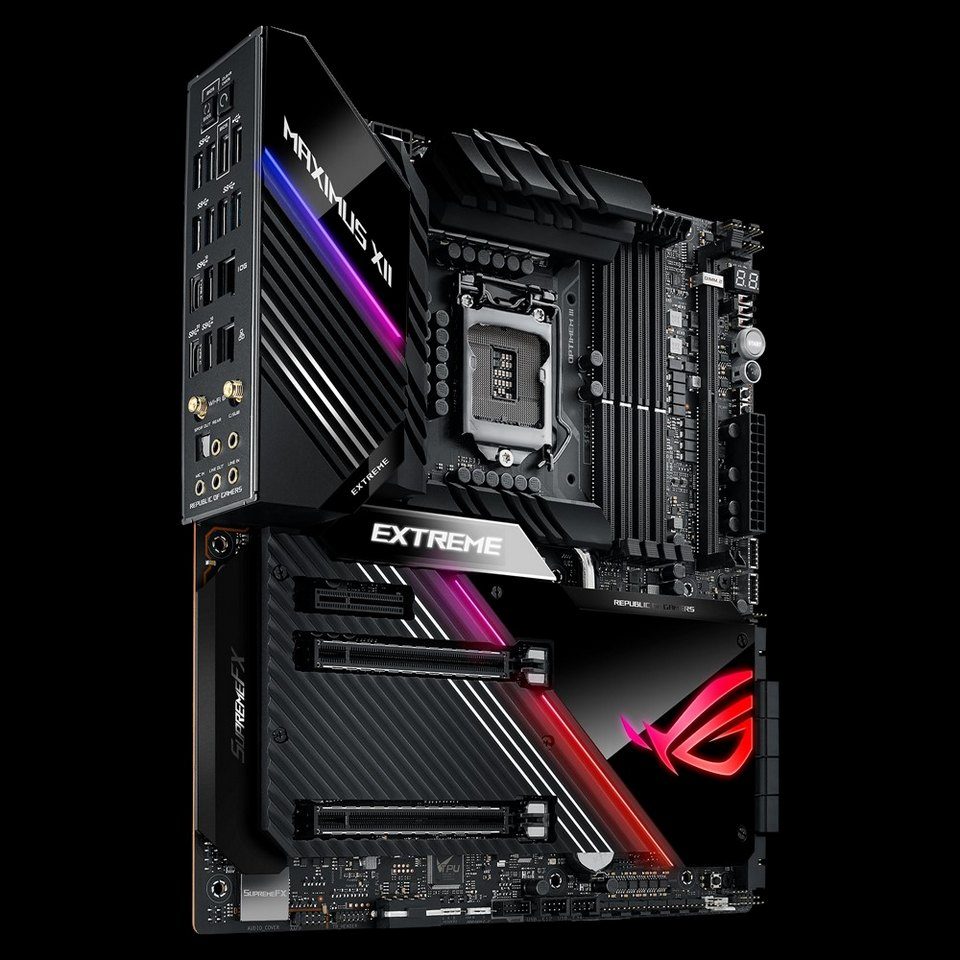
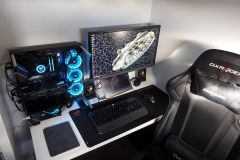
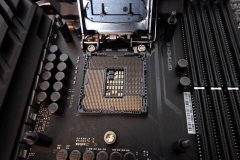
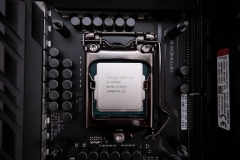
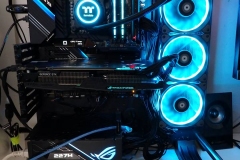
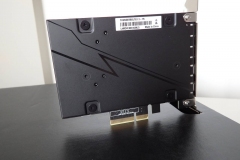
The ASUS Maximus XII EXTREME is a niche motherboard built for the most extreme enthusiast, an enthusiast with an extreme budget.. or both. This is one of the most impressive motherboards to ever hit our test bench. It scales from beginners needing connectivity or wanting badass aesthetics, to experts wanting to go full mad scientist!
It’s big, rugged and makes a statement.
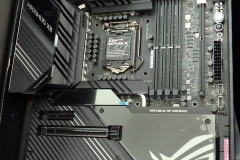
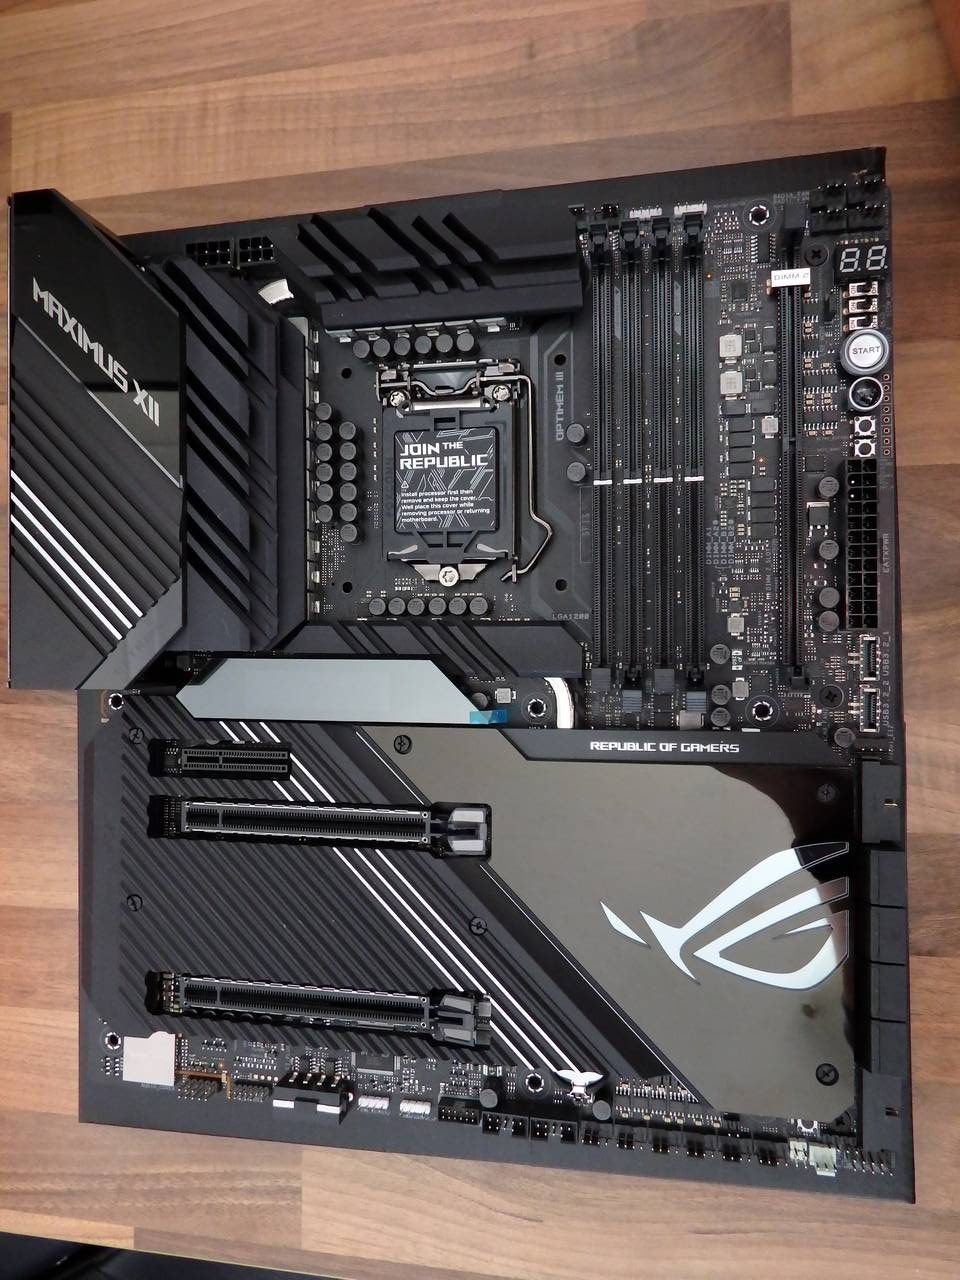
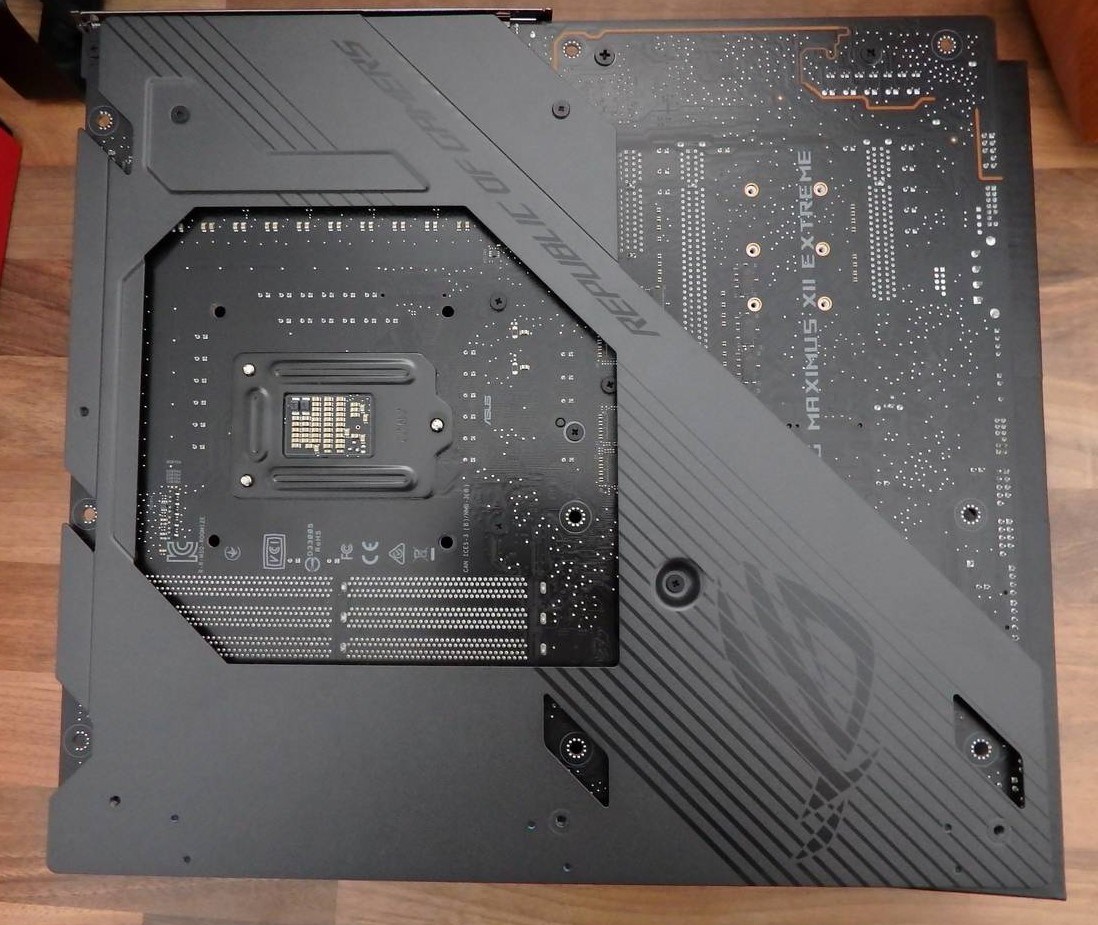
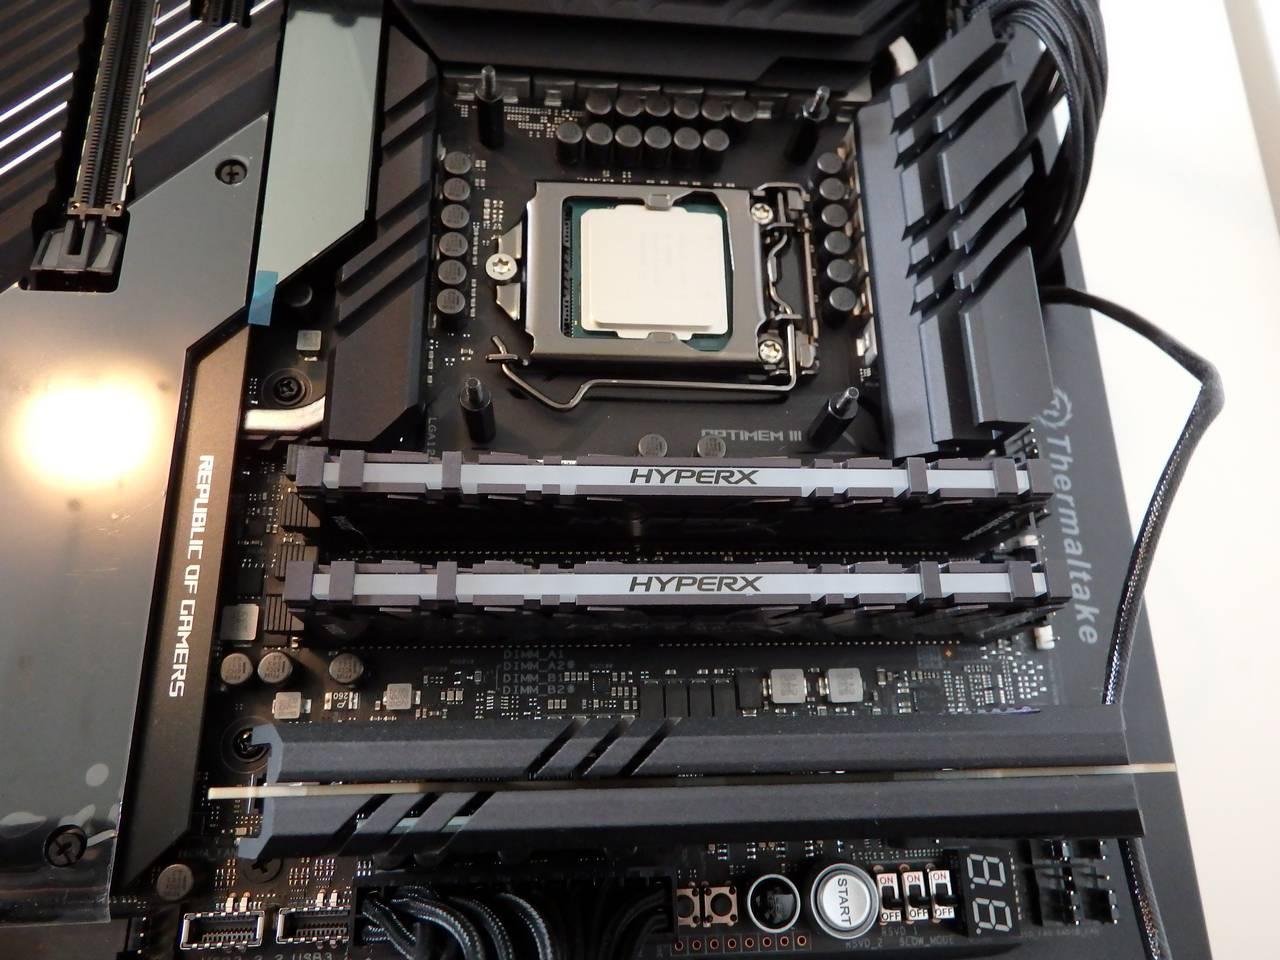
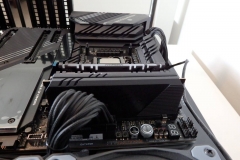
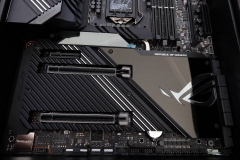
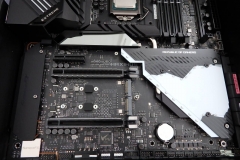
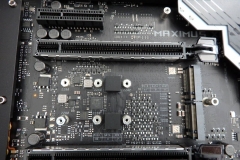
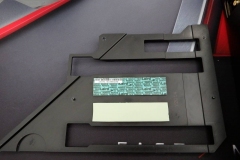
ASUS crammed so much on this board that they needed to go E-ATX to make it fit. E-ATX is simply a wider board than a standard ATX form factor but it is also important to note that the thermal solution on the Maximus XII EXTREME involves a steel backplate underneath the board and an aluminium top heatsink/plate over the PCIe area in addition to the usual VRM heatsinks – all of this adds weight and rigidity to the board. The top aluminium heatsink is removable and covers slots for two M.2 SSDs with thermal pads to ensure adequate heat transfer.
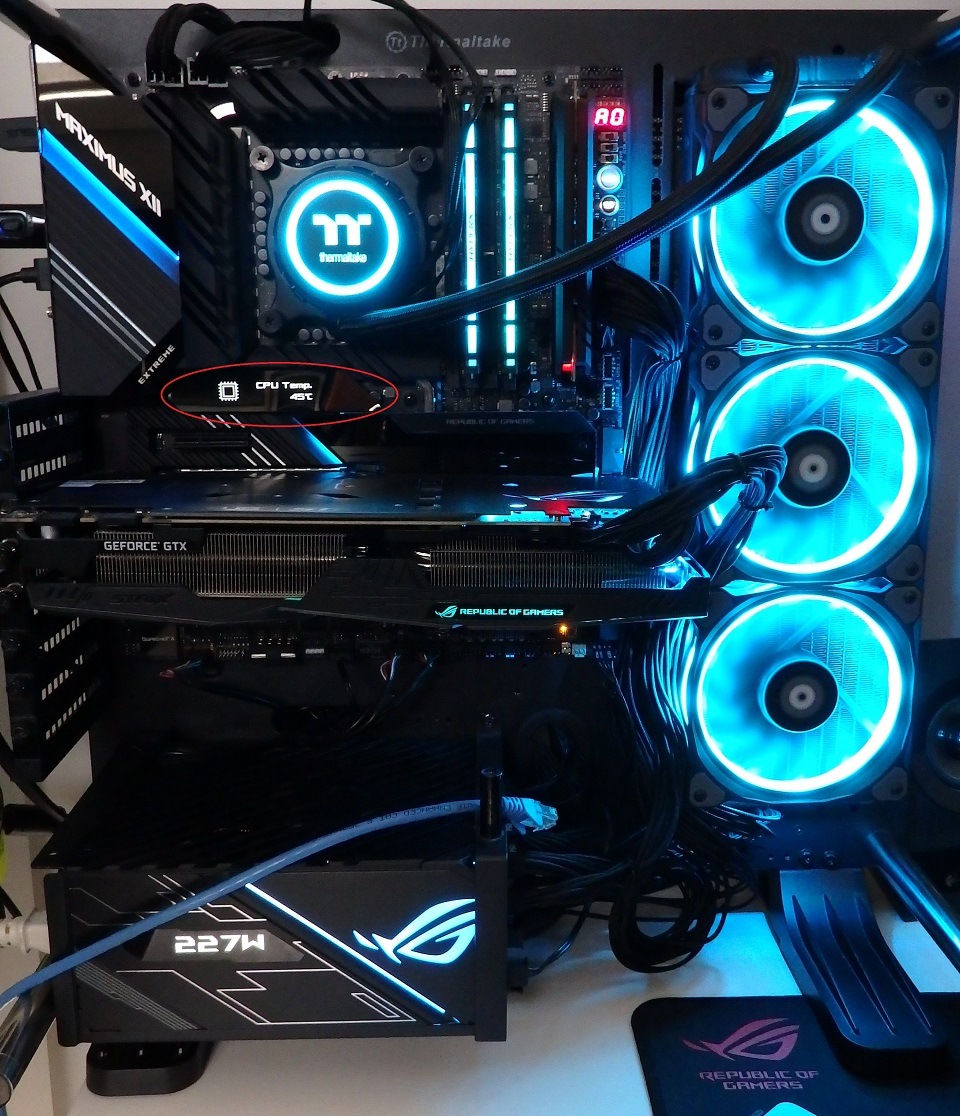
The execution of the cooling solution is second to none with a pleasing aesthetic that includes metal, glass and RGB elements all combined in theme featuring blacks with polished highlights and mirrored surfaces that will suit any system build. The OLED display adds a touch of luxury but is also useful – I’ll cover that in more detail later.
Let’s talk pricing for a little context before we get too excited.
One thing the ASUS Maximus XII EXTREME is NOT: cheap… Or perhaps even affordable. At a current street price of $1,550 AUD, it belongs only in the most extravagant of systems (or those trying to hit an overclocking record) and will be a ‘unicorn’ for most enthusiasts.
This is a niche product for cashed-up system builders with serious needs. The price isn’t necessarily a bad thing though, you do get a lot for the money. Also, the argument of “It’s a waste because I’d never use all of that” doesn’t apply here because ASUS has an extensive range of boards balanced at different price points to suit consumer needs based on the same Z490 chipset. The Maximus XII EXTREME is for the people that want everything – and ASUS has gone all out.
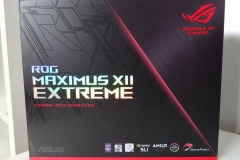
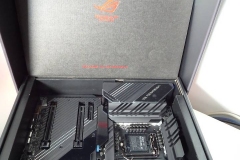
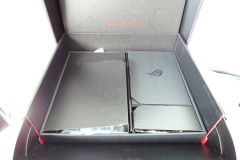
First impressions are important so as you would expect the packaging is sturdy and the extended set of accessories are neatly divided into different compartments of the box underneath the motherboard area. The DIMM.2, Thunderbolt card and fan expansion board are also protected by anti-static bags.
The whole package is heavy and I’m not joking here, the motherboard alone weighs 2.4KG.
Feature Set
OK – so now that I’ve covered the price tag, let’s look at what the Maximus XII EXTREME has to offer and why some of these features could be important.
Overclocking and Monitoring
The Maximus series has always had a focus on satisfying the enthusiast who wants to get the most from all of their components, particularly their CPU and RAM. This board is no exception and I’ll go through the sets to cover off the key points below.
ASUS Q-Design
– ASUS Q-Code LED display gives you status indicators and error codes that you can reference if your system takes a long time to boot or fails during the POST process. This makes troubleshooting faster than the good old trial and error process or listening for beeps from the speaker.
– ASUS Q-LEDs are strategically placed around the board and will light up to indicate a problem with different parts of the board, as an example if the 8-PIN CPU power connector isn’t connected properly, the light near the plug will come on to help you identify what might be wrong.
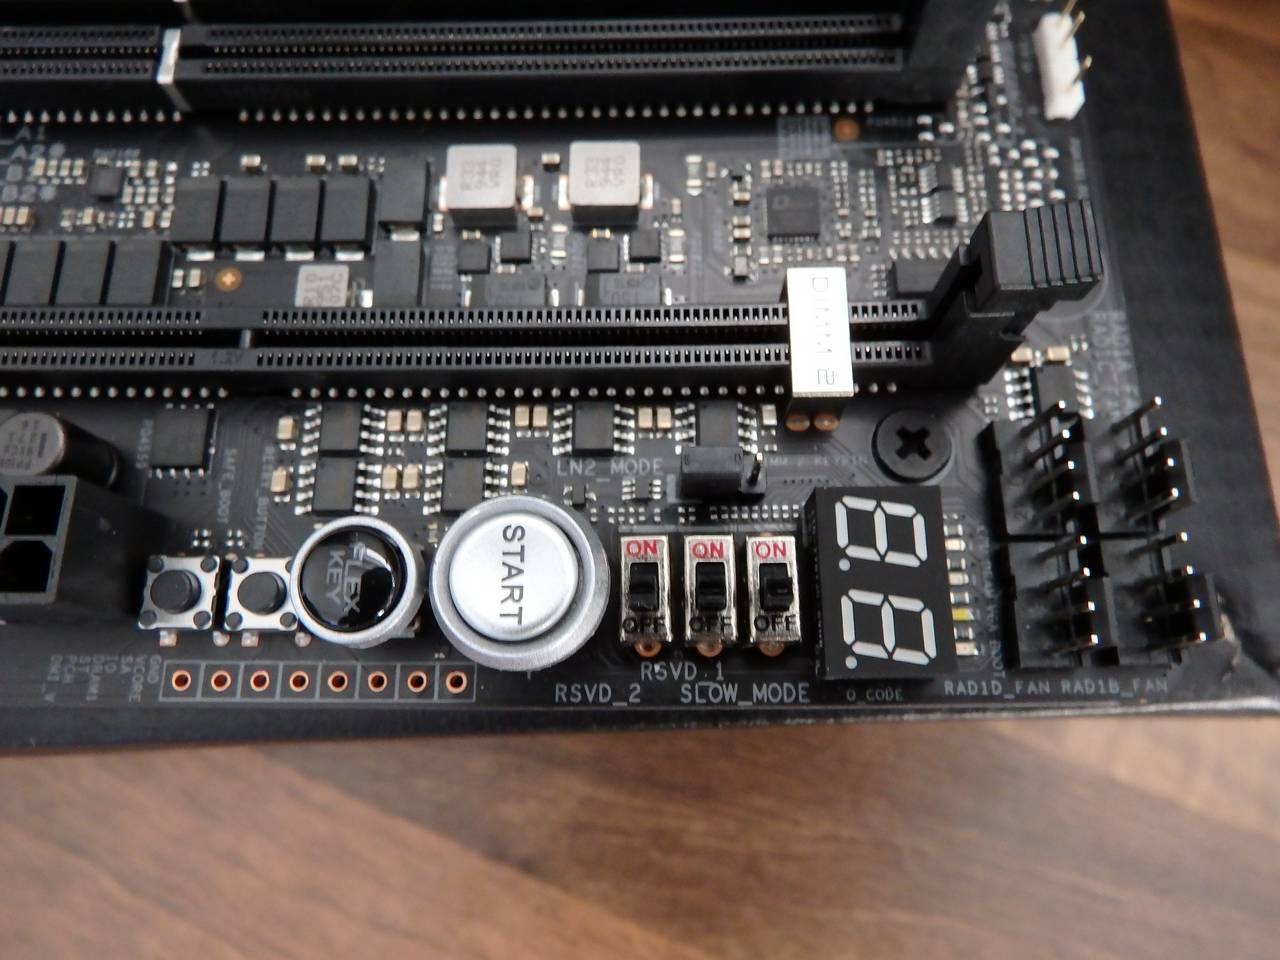
ROG Extreme OC kit
– FlexKey button that is typically used for RESET but can be re-configured for something important like entering the BIOS or something convenient like turning the AURA lighting effects on or off.
– LN2 Mode is controlled by the jumper above the START button. This puts the motherboard into a state that is best for extreme overclocking. Note that LN2 Mode must be enabled before extreme OC features such as Slow Mode an take place.
– Probelt points for voltage readings via a multimeter to ensure accurate data when overclocking.
– ReTry button – Unlike the Reset button, the ReTry function will reboot the system but retain the BIOS settings from the last attempt.
– Start button – this will be of limited use to many users, but for overclockers, people who use open-air test benches or reviewers like me, it’s great.
– Slow Mode switch temporarily puts the CPU to the lowest possible CPU ratio to give the CPU a little break before the next benchmark attempt.
– Switch BIOS allows you to alternate between 2 available BIOS chips. People might have a stable production use BIOS with stock or at least proven stable settings and use the other for pushing their overclock. You can also store up to 8 OC Profiles in each BIOS chip.
Extreme Engine Digi+
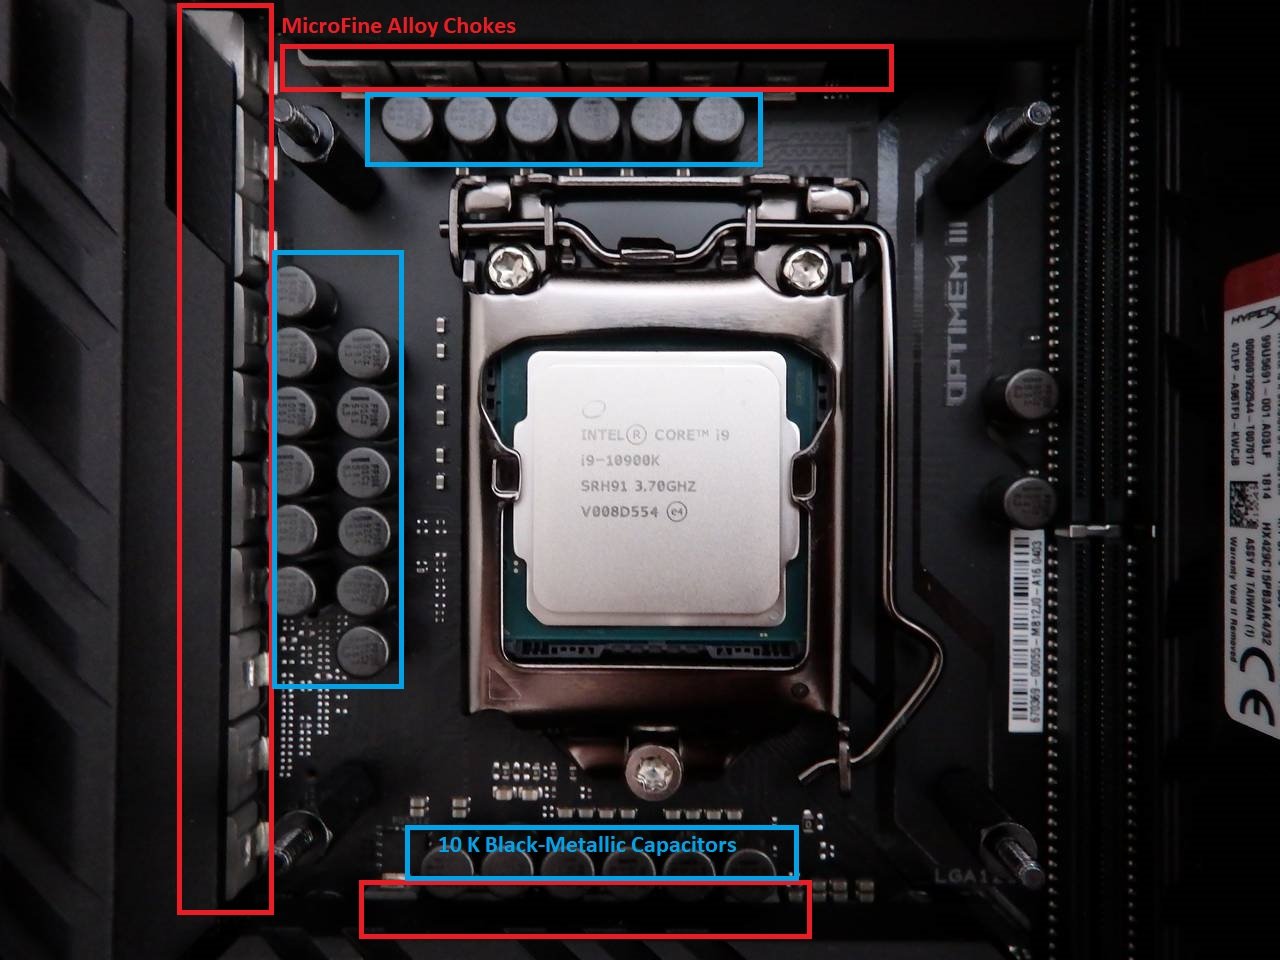
– 10K Japanese-made Black Metallic Capacitors that are designed to operate at high temperatures and rated to last 10,000 hours of operation under 105°C operation temperature
– 16 Infineon TDA21490 Power Stages – note that each is rated at 90 amps. These have been implemented in a teamed power stage design that sees two power stages operating simultaneously to deliver power to the CPU. An alternative and more widely used approach is to use a phase-doubler which add a propagation delay. Phase-doublers are less responsive when transitioning between load and idle CPU states. This is more relevant now that CPUs are being produced with more cores than in the past which results in more concurrent instructions being executed and faster execution of workloads – resulting in typical operational idle/load patterns changing and heavier switching between idle and load power states.
– MicroFine Alloy Chokes rated at 45 amps.
Whilst we’re talking build quality, the PCB is 8 layers thick and protected by a steel backplate and aluminium heat sink. There is also an additional cooling kit with a 40mm fan for the VRM heatsinks that can attach to the top right part of the board but I didn’t require it when testing as our board ran pretty cool with the minimal direct airflow in the open-air test bench.
ASUS EZ DIY
– BIOS Flashback™ button is an easy way to flash/update your BIOS without needing a bootable environment. As long as the 24pin ATX power is connected with standby power turned on, you just plug in a USB stick with the correct BIOS image with the correct file name, to the nominated port and press the BIOS Flashback button to complete the update.
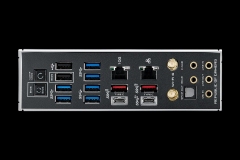
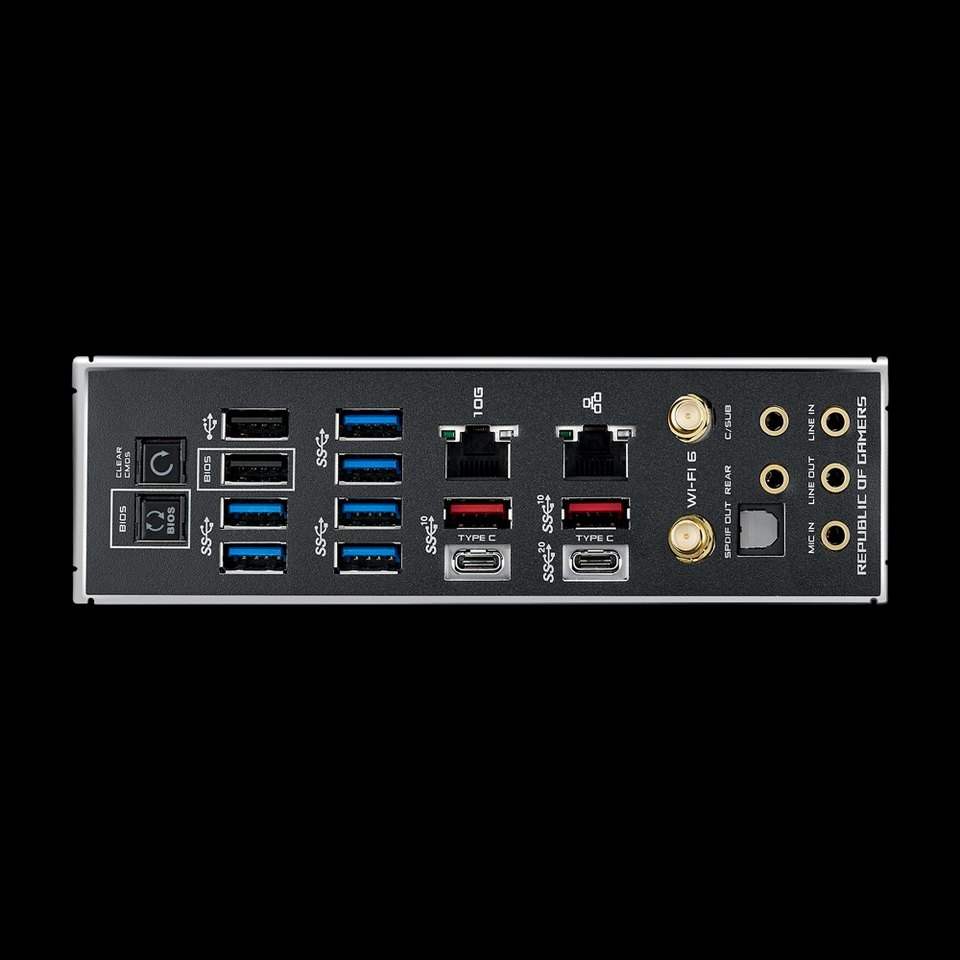
– Clear CMOS button on the rear I/O shield can be very handy when overclocking. Of course, the alternative is to find a CLR_CMOS jumper or pop the battery out but a button on the outside of the rig is ALWAYS more convenient, right? As an aside, the battery is still accessible despite being semi-covered by the aluminium heatsink – kudos to ASUS for not covering it completely with that beautiful heatsink and keeping functionality in mind.
– Procool II solid pin power connectors with metal frame that provide a snug fit for the power plugs.
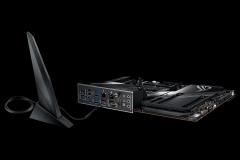
– Pre-mounted I/O shield – these are becoming more popular now and make building systems that little bit easier. It’s a neater end product when the manufacturer provides a shroud and integrated I/O shield. On a board like this, a pre-mounted I/O shield is mandatory, and ASUS executed well here.
– SafeSlot is the ASUS name for reinforcing the universal PCIe slots to protect them against damage from transportation or improper handling. I’ve never actually seen a PCIe slot damaged in this way, but I’d still rather have this build quality than not.
AURA Sync
RGB is all the rage now, and there is a lot on this board, though it’s been done in a way that still demonstrates restraint. The RGB can be configured so that you have full control over what lights up and what doesn’t so if you don’t want that side/edge RGB going then you can turn it off. Just want the ROG logo showing? No problem. Want it all dark? Sure… the status LEDs off as well? You can do that, too. ASUS has given the owner full control over how much bling they run with and if there isn’t enough bling on the board, there are 2 addressable Gen 2 RGB headers and 2 standard RGB headers for adding some more.
I didn’t have any issues when using the headers on both the Addressable LEDs in the ASUS THOR PSU or a standard RGB strip. The AURA software recognised the HyperX Predator RGB memory and STRIX 1080 Ti graphics card as well without any issues.
LiveDash OLED 2″ sits above the PCIe slots and below the CPU (circled in red above) so if you are using a water cooler then it will be visible through your case window. This may seem like a gimmick but it’s informative during POSTing and shows the CPU temperature, frequency and other information during operation. You can also configure it to display custom images and it will keep you apprised of the status of your BIOS update, too. Overall, this is a handy addition that seems at home on an ASUS Maximus product. I thought the OLED display on the X399 Zenith Extreme was handy but the one on the Maximus XII EXTREME is next level.
Specifications
The gallery below contains the specs in easy to read groups. If I listed them here in a typical table it would be almost as long as the review.
For reference, our test setup was:
- Intel i9-10900K
- ASUS Z490 MAXIMUS XII EXTREME with BIOS 0504
- ASUS ROG THOR 1200W Platinum PSU
- HyperX Predator RGB DDR4-2933 (2x8GB)
- ASUS ROG STRIX 1080 Ti OC
- Noctua NT-H1 thermal compound
- Thermaltake Core P3 Curved Chassis
- Thermaltake Floe 360mm AIO water cooler
- Samsung EVO 970- M.2 SSD
- Samsung EVO 250GB 2.5” SATA SSD
- Western Digital 6TB Red HDD
- BenQ EL2870U 4K monitor
- GeCHIC on-lap 1305 portable monitor
- ASUS TUF K5 Keyboard
- Razer Deathadder Chroma RGB Mouse
- ASUS ROG Scabbard Deskpad
- Logitech Z533 speakers
- Windows Professional build 1909
Aesthetics
This board screams overkill and it looks badass. The OLED display and RGB lighting is well-positioned and considered. It isn’t like the designers have tried to jam as much RGB on the board as possible, they have used RGB as a highlight and implemented it where it makes sense.
The use of glass and polished surfaces in conjunction with a matte finish to the aluminium gives contrast to the board so that it is still attractive when turned off or when it’s running without the lighting enabled.
Given the lack on any colour on the board or heatsinks, you could do just about any theme with the Maximus XII EXTREME with the exception of a pure white build, though even then it would provide an appropriate contrast. It’s also worth noting that the included SATA cables are sleeved in a weave fabric as opposed to the standard black plastic-coated cables.
One other thing that owners will discover early is the installation USB stick. This makes installing the drivers and utilities quick and easy. I’d like to see more of this on other products and manufacturers. We haven’t built a system with an optical drive since 2012, since then we’ve used a portable Samsung USB optical drive for installing software or just gone to the manufacturer website for the latest versions and downloaded them to a USB.
Layout in General
This board is like an amusement park (a good one!) in that there is so much to see and do. The design team did well to fit the components logically and to also use the vertical with the DIMM.2 slot for an extra two M.2 SSDs but with a minimal impact on the footprint. Thermal protection has been also part of the board without it looking like an afterthought, rather that it was always part of the original concept.
There are enough fan and water-cooling headers to keep most people happy but for the system builders that need even more fans, ASUS has included an expansion card that I’ll cover when we get to thermals.
When setting up the test bench, the intuitive design became very apparent as everything here is logically located and clearly labelled.
Two layout quirks to be aware of – but no deal-breakers.
To be clear, this isn’t a problem but it is something to keep in mind when working with the Maximus XII EXTREME. The thick steel backplate and wider E-ATX form factor mean that the board does not have the same clearance between the PCB and the motherboard tray as you might be used to with typical motherboards. Note that despite the backplate, ASUS has kept the CPU socket area nice and clear for CPU cooler mounting brackets. The Noctua SecureFirm2 and Thermaltake Riing Floe brackets that I used were fine and not impacted by the backplate in any way.
The stand-off pegs of a standard ATX layout will be fine as the backplate maintains clearance for them but it’s virtually impossible to route cables behind the motherboard for things like SATA or front panel audio/USB because there just isn’t enough room. I even found that cable hole grommets on both my Thermaltake Core P3 and View 71 chassis needed to be removed to avoid an uneven motherboard tray area. Leaving these grommets in place can result in very slightly flexing the board due to the extra width. My advice is to simply ‘dry-fit’ the board first to see if you need to remove or adjust any grommets in your case and consider this element when planning out cable routing.
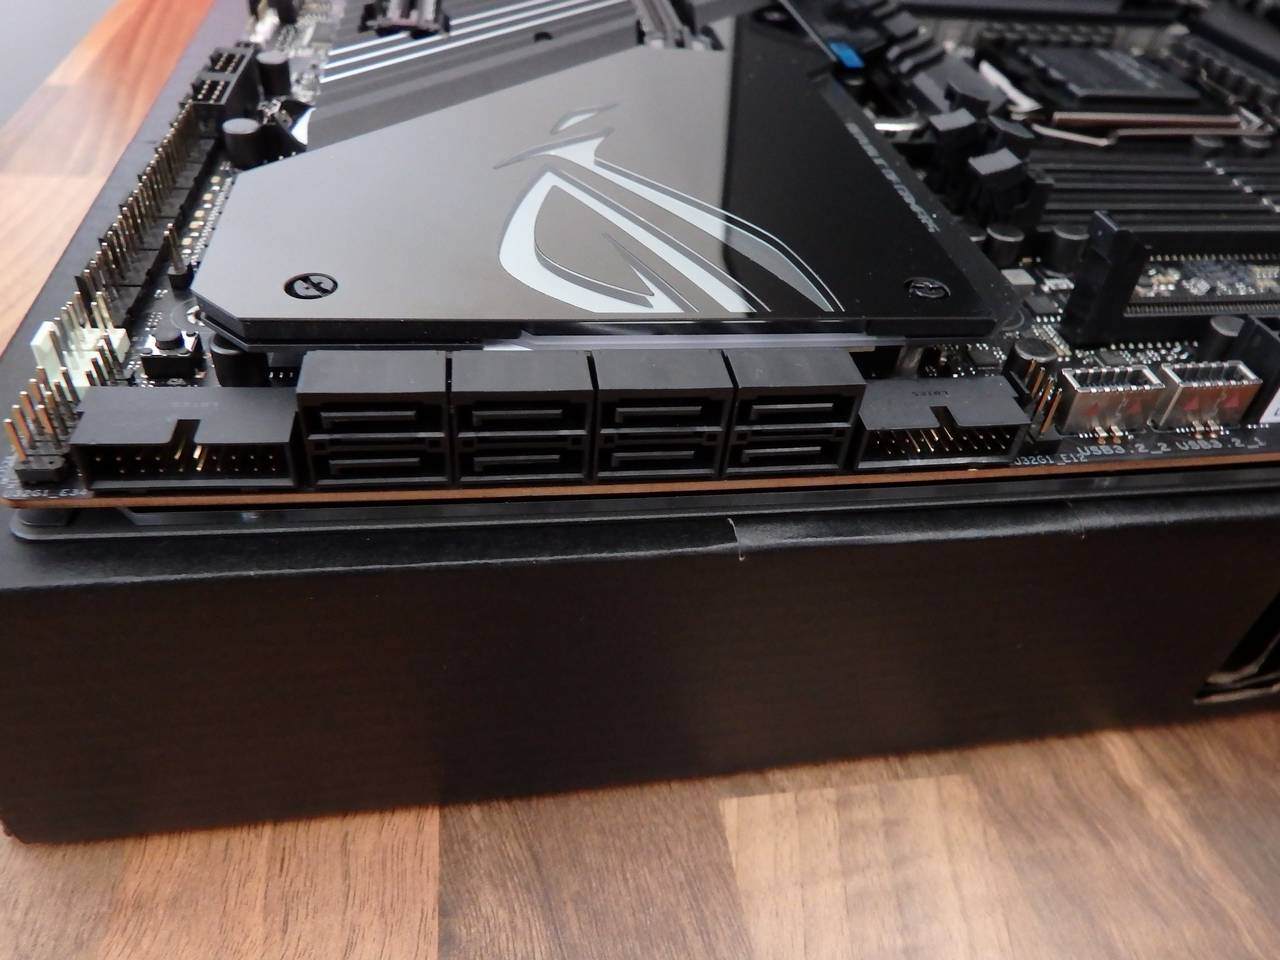
Both USB 3 motherboard headers point out at 90-degrees from the right edge of the board. On an ATX board, this would be ok, but on an E-ATX board some cases might have an issue.
ASUS might have been better to use both a horizontal USB 3 header and a vertical USB 3 header along the right edge instead of two horizontal headers. This would mitigate potential space constraints for system builders. This isn’t a big deal but is something to be aware of when selecting a case – anything designed for E-ATX should be fine. Many open chamber ATX cases could also work if they have enough unobstructed space to the right of the motherboard tray.
Storage
I first saw the DIMM.2 slot when testing the ASUS X399 ZENITH EXTREME board in our AMD Threadripper 2950X review. Later, I used this for our NVMe RAID article. The DIMM.2 slot on the Maximus XII EXTREME is even better in design in that it has a heat sink.
Two of the best things that this unique, vertical dual M.2 mounting system has going for it are the cool location, away from any heat sources and the reduced footprint on the motherboard. The DIMM.2 takes up as much space as a single DDR4 RAM slot as opposed to two 80-110mm M.2 drives flat on the board.
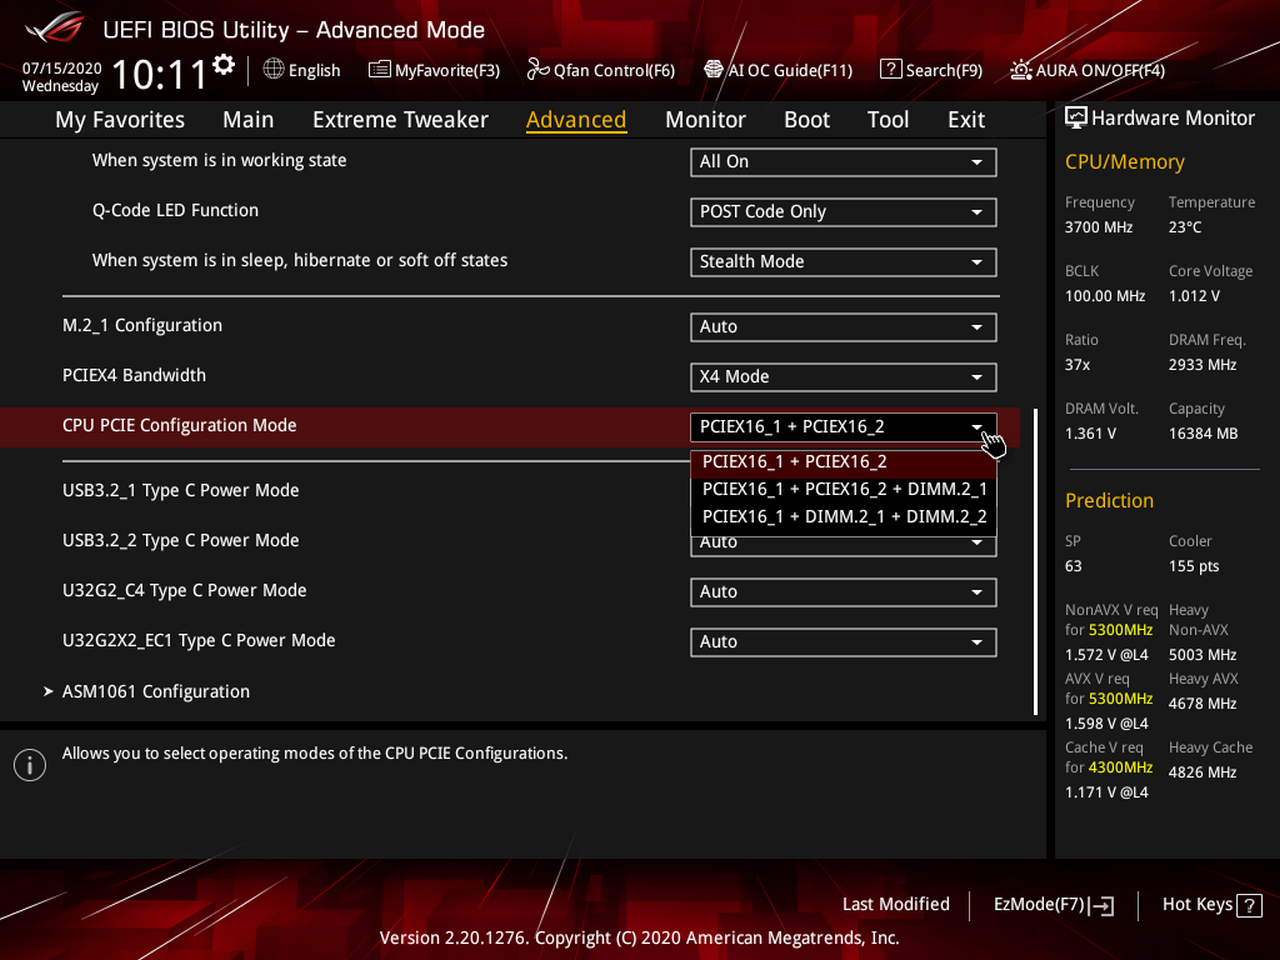
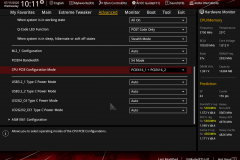
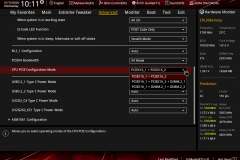
If you use the DIMM.2 slot, you will need to enable it in the BIOS and make the trade-off with the PCIe lanes for the PCIEx16_2 so keep this in mind if you require that second PCIEx16 slot. It’s good to see the system builder having options here and the manual is clear on the few areas where trade-offs need to be considered. Another example is if you use a SATA device in an M.2 slot, you sacrifice one of the standard SATA ports. This is nothing new but it’s clearer in the manual than I’ve seen with some other manufacturers.
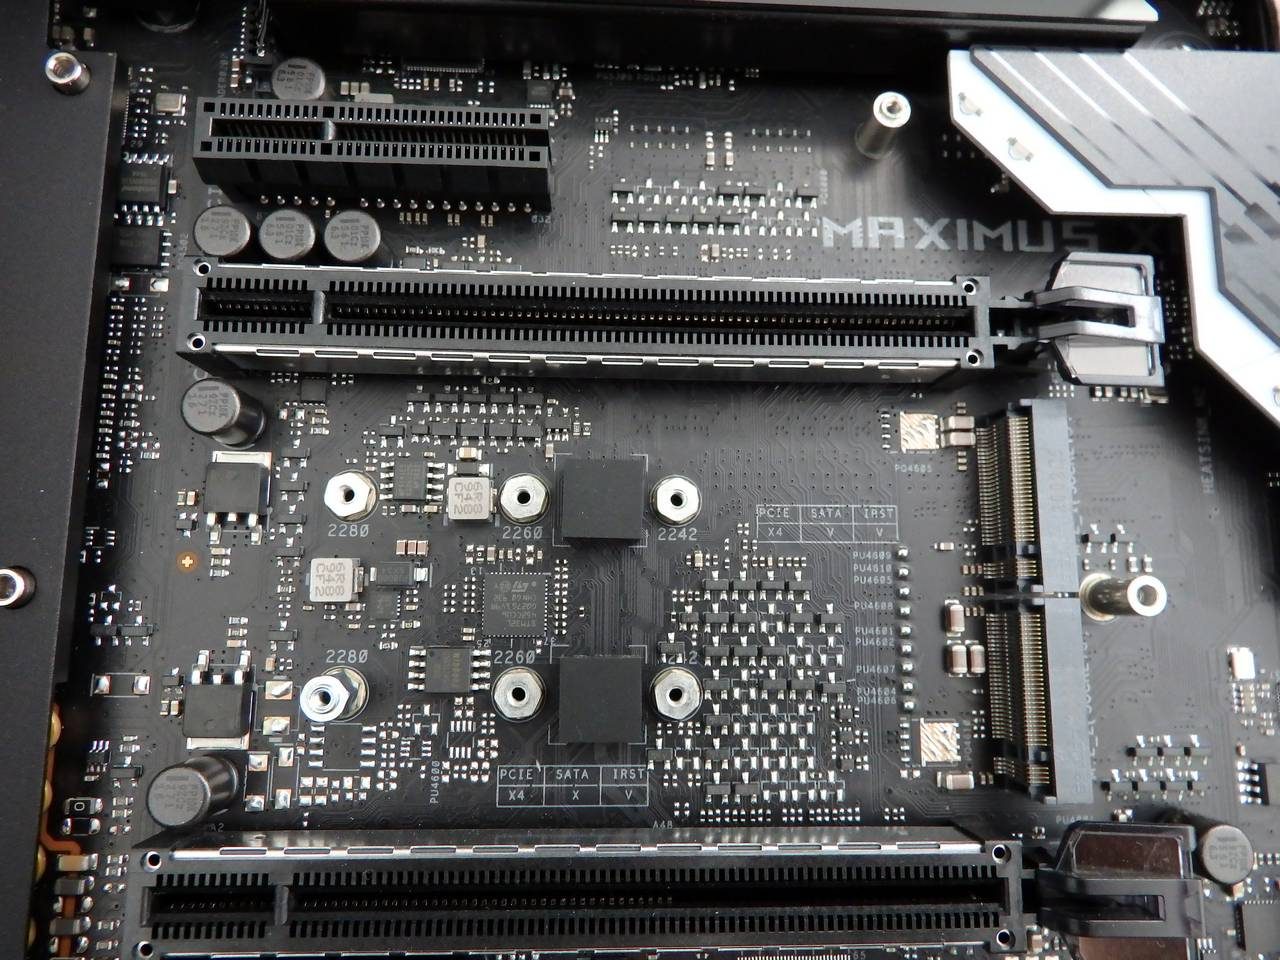
There are also two M.2 slots located under the motherboard PCIe heatsink that stay cool and are out of sight, keeping everything neat. One of these slots will take either SATA or NVMe, the other is only suitable for NVMe.
Connectivity
LAN
The Intel I225-V 2.5Gb Ethernet and Marvell AQtion AQC107 10Gb Ethernet controllers are both protected against spikes by ASUS LANGuard. These connections will deliver some serious throughput to feed whatever 10th Gen CPU you decide to use.
I was able to saturate our 1Gb network in the standard testing. When using the ASUS GT-AX11000 Rapture router I was able to run multiple throughput tests to different 1Gb devices while connecting the Maximus XII EXTREME to the 2.5Gb port and see the benefit.
Unfortunately, I don’t have the 10Gb infrastructure to test the AQtion AQC107 controller but it didn’t give me any issues when connected at 1Gb or 2.5Gb.
WI-FI
Wi-Fi connectivity is extensive and there is only one antenna to worry about placing. This works well in maintaining a good signal.
The Wi-Fi solution is the Intel Wi-Fi 6 AX201 with 2×2 Wi-Fi 6 (802.11 a/b/g/n/ac/ax) that support dual-band frequency of 2.4/5 GHz and up to 2.4Gbps maximum data rate. The full support specs can be found in the specification earlier in this review.
When testing Wi-Fi we sat the test bench in the same room as the GT-AX11000 router for a best case scenario. In real world usage, environmental factors can come into play such as walls, interference etc so we try to eliminate this and demonstrate an optimal environment. The results were:
- 5GHz 160HT (160MHz bandwidth enabled) – 655Mbps write / 875Mbps read
- 5GHz – 526Mbps write / 803Mbps read
- 4GHz – 112Mbps write / 174Mbps read
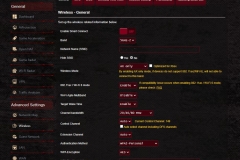
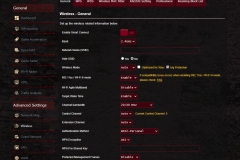
These tests were made to an SSD file share on a PC with a 1Gb wired connection directly to the router. The file payload was 1GB for testing. The Router settings are in the screen shots below.
I’ll be doing a follow-up piece in the near future with more detail about Wi-Fi 6 using the ASUS ROG Rapture GT-AX11000 Tri-band gaming router.
GAMEFIRST VI
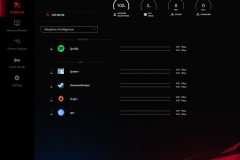
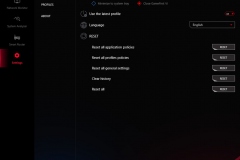
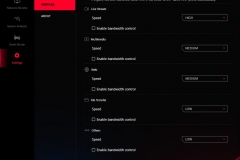
The GameFirst VI software worked a treat as well and recognised the ASUS GT-AX11000 as an ROG router for easy connection. Even if you don’t have an ASUS router, you can set the traffic priority to suit your usage by prioritising gaming, streaming or other apps. There are profiles to choose from or you can let the AI have a go at balancing it for you.
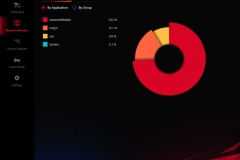
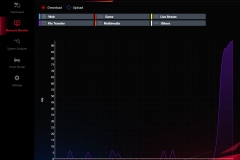
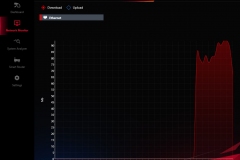
The visibility over your traffic is handy for real-time but there is also a Network monitor tab that shows you historical trends so that you can see what’s eating your bandwidth. It also shows you the data by connection for scenarios where you may be running multiple network connections (to the same or different networks).
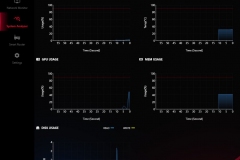
The GameFirst VI app goes above and beyond with some PC stats that include CPU usage and temperature, GPU usage, Memory usage and Disk speeds. If you are getting lag in online games, this is a useful snapshot as it can show you when a disk is thrashing of if you have an unexpectedly high CPU usage.
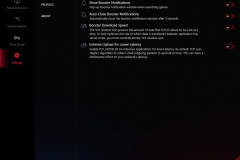
There are several potentially helpful settings to help you get the most from your connectivity in the settings tab under the Game Turbo section – see the screenshot below for the options.
Bluetooth
The Maximus XII EXTREME has Bluetooth 5.1. I’ve had people ask why Bluetooth is so important in a desktop and my answer is always “Game controllers and mobile devices.” As a gamer, there are times where I like to use an XBOX One controller and it connects via Bluetooth. Personally, I don’t use Bluetooth for mice, keyboards or headsets but eliminating the need for a cable to my game controller is something that I appreciate.
Audio Solution
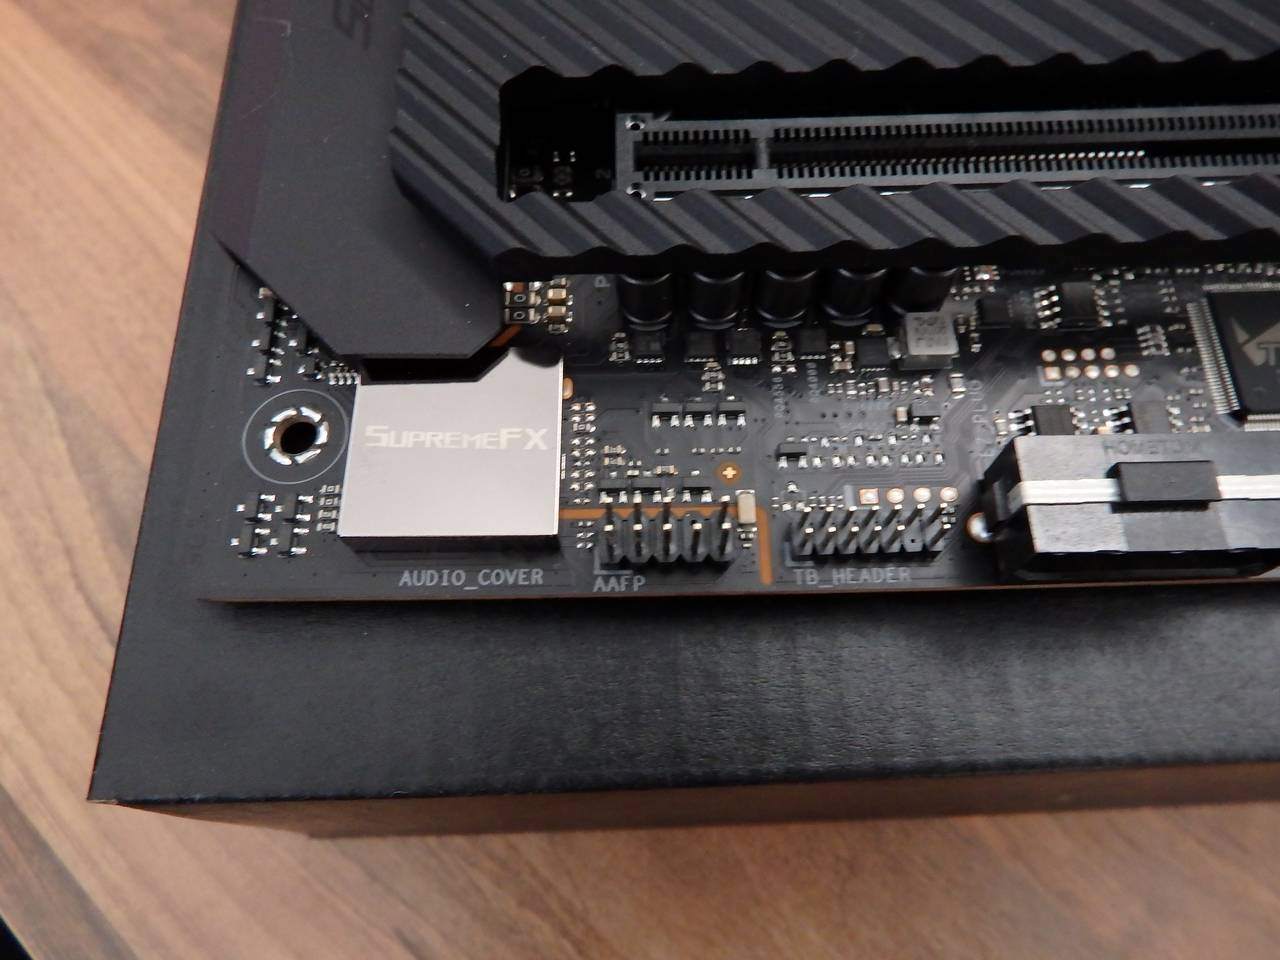
ASUS has implemented their SupremeFX S1220 audio platform that is essentially a tuned Realtek ALC1220 audio CODEC with some ASUS magic included. The rating is 120dB Signal to Noise Ratio (SNR) for stereo output and 113dB SNR recording input. Plackback support goes up to 32-Bit/19kHz. The chipset is shielded against interference and uses premium Nichicon audio capacitors as seen on other ASUS ROG products.
The Maximus XII EXTREME also has an ESS ES9023 DAC and RC4580 op-amp. This is important if you use headphones as the signal is amplified with little or no distortion at the source – of course, the quality of your headphones can either preserve or degrade the experience.
In our testing, I used both the HyperX Cloud gaming headphones as a typical representation of what many people use but I also tested with the Blue Satellite headphones that are of higher quality (and cost). In both cases, the analogue output from the ROG SupremeFX platform is brilliant from both the rear I/O ports and the front panel connection. I also tested the digital output via an optical cable with our Edifier S2000PRO speakers. Gaming, music and movies/media were all very clear and scaled well from lower to higher volume levels. As always, I checked out Rocksmith for some ‘guitar karaoke’ and got a little side-tracked – the sound quality from this board is amazing but the utilities make it very convenient as well.
One element of the top-shelf ASUS audio hardware that I’ve come to appreciate is the LED Illuminated audio jacks. When I first saw it on the X399 ZENITH EXTREME, I thought it was a bit of a gimmick but if you change headsets around or switch your headset between your PC and other devices it can make connecting it to the right port significantly easier – especially in low light. Each port is lit with the corresponding colour so when connecting a gaming headset, for example, you just have to look for the green and red lights. It’s just too easy.
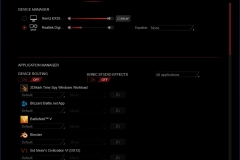
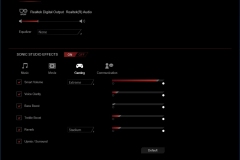
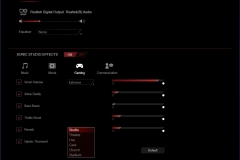
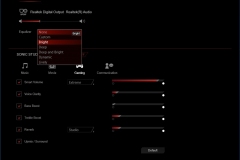
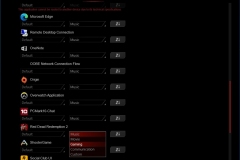
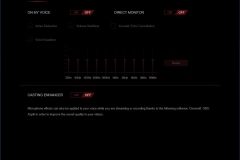
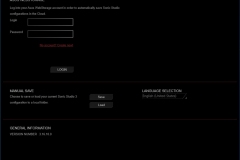
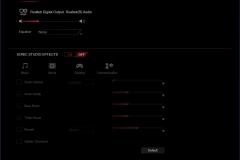
The software is also more useful than the typical rebadged drivers that we see. Sound Studio3 allows different audio profiles/equaliser settings to be assigned to different applications or games so if you are using Spotify, then you can use one profile but as soon as you fire up COD WARZONE Sound Studio will automatically apply a different pre-defined profile better suited to first-person shooter games. It doesn’t stop at equalizer settings – you can also allocate different audio devices to different applications. There is a function to create an online login so that you can save your settings which could be handy if you spend a lot of time/effort setting this up. If you don’t manually intervene, the default device and default audio profile works just fine too.
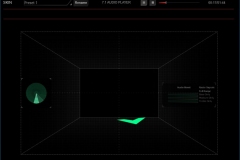
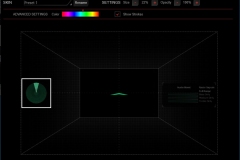
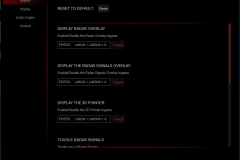
There is also a Sonic Radar3 application that can show you where sounds are coming from with a visual indicator. It isn’t 100% accurate but it’s pretty good and the visual overlay can show you an arrow in the direction of where a noise should be based on positional sound. As much as I like the innovation at the heart of this feature, I also think it adds an overlay that will be at odds with the spirit of many competitive games and I find the visual indicators a little distracting. This isn’t something that I’d use but I’ll concede that it’s not a bad utility to receive in the software bundle.
RAMCACHE III
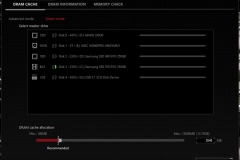
I’ve used this before and found it to be good but only if you have RAM to spare. Essentially, RAMCACHE III allows you to allocate a portion of your RAM pool as a cache against your physical drives in order to improve system performance and/or save read-write wear on your SSD. This utility is worth checking out if you buy an ASUS board that includes it.
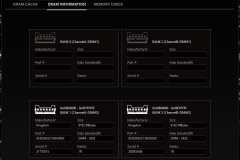
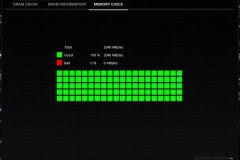
The application also has a function to do a quick check on your memory to look for errors.
AISUITE III
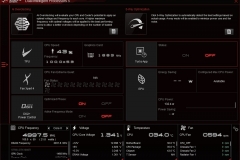
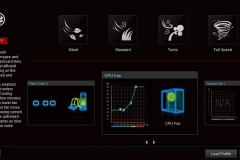
AISUITE has been around for a long time but it seems to get a little bit smarter and cleaner every year. Five-Way optimisation takes the pain out of overclocking and fan tuning by allowing you to just click a button and the program will run a set of tests on your rig to see how far it can overclock with stability and then it will test for fan speed thresholds and set profiles based on your preference of performance or silence.
The fan profiles also work in a dead-silence mode and you can control the delay for speed changes to keep things smooth. Going beyond that, you can then consider to let the AI take control over your fan duty, and trade a few degrees for a much quieter user experience. If you are a control freak, you can also manually make all of these changes in the software. But for those wanting more control than this, there is always the BIOS.
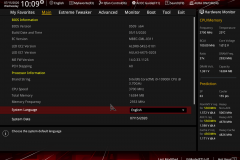
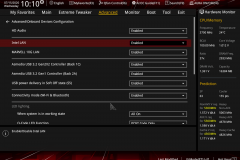
BIOS
ASUS makes possibly the most intuitive and comprehensive BIOS on the market for their ROG range and this is no exception. Beginners can let the AI overclock get the most out of their CPU, intermediate users can tweak this further and hardcore overclockers have the next level of control in their quest for world records.
It can be daunting when you go deep into the menus but it’s logical and most of the things a typical or even enthusiast system builder need are easy to find and in the upper levels of the advanced menus.
I had to update the BIOS during the Intel 10th Gen launch and the process was quick and easy with the use of a USB thumb drive.
The BIOS also has a predictive function that makes an overclock prediction based on your individual CPU and it rates the thermal capability of your CPU cooler – all based on a collection of stats. The AI Overclock will also tune itself based on the performance metrics that the BIOS observes.
Thermals
It came as no surprise that this board has excellent thermals and cooling control. The board is effectively encased in a heatsink with a steel plate behind the motherboard and an abundance of shaped aluminium heatsinks on the top. The VRM solution has 3 heatsinks and a heat pipe. This makes the board heavy and thick, but it also protects it from bumps and thermal hot spots which leads to better performance and increased longevity.
These large heatsinks also give the Maximus XII EXTREME a rugged and unique aesthetic that leaves you in no doubt that ASUS built this thing to last.
The heatsinks/thermal protection is such a key part of this board from both a functional and aesthetic perspective that it really becomes the signature of the Maximus XII EXTREME.
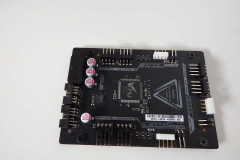
If you run with a lot of fans and need more, the additional fan controller is included.
The average system builder won’t need more than half of these features, but it wasn’t built for average system builders. No matter what your use case, the Maximus XII EXTREME should meet your needs – particularly for bespoke cooling solutions.
Control Freak Heaven
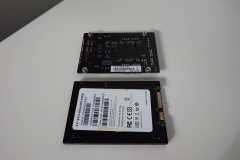
The level of control and visibility you have with the Maximus XII EXTREME is amazing. You can tweak the BIOS to control everything to do with your overclock, you can step through the start-up process and manage the parameters in extreme detail. When it comes to monitoring, there are system options from internal sensors but ASUS also provide 8 ProbeIt Measurement points. Still want more? There is an expansion card in a 2.5” SSD form factor for more fans and thermal probes in case the ones attached to the board don’t meet your needs. This also has more thermal probe sensor headers and additional RGB headers for good measure.
USB& Thunderbolt 3
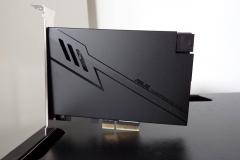
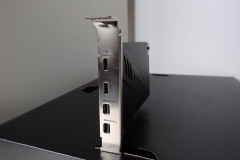
The Maximus XII EXTREME includes two USB 3.2 Gen 2 front panel connectors and USB 3.2 Gen 2×2 Type-C ports on the rear I/O and if you’re looking for Thunderbolt 3 then you’re in luck because there is also a bundled Thunderbolt 3 expansion card with the cables needed to experience 40Gbps.
Overclocking
Initially, I was able to secure a 4.9GHz all-core overclock with our i9-10900K CPU but that has since progressed to a 5GHz all-core overclock. AI overclocking gave us a 4.9GHz all-core overclock without any trouble and the mechanism for getting the most out of our CPU is easy to follow.
There are extensive options in the BIOS for ‘EXTREME’ tweaking and overclocking so you can expect to see the pros using this board for serious overclocking attempts.
General setup, ease of use and stability
Installation was a breeze. Despite the steel backplate, access to the back of the socket was nice and clear for fitting the CPU cooler bracket and the installation USB thumb drive loaded the drivers and applications much faster than optical media. The software didn’t get in the way at all, doesn’t feel like bloatware and adds real value – specifically the WINRAR and Internet Security programs. As a day to day rig, this ran 100% stable without any blue screens or crashes.
Final Thoughts
Durability
Sadly there is no such thing as a ‘Forever PC’. Technology moves at an unforgiving pace but it doesn’t mean that you can’t expect a ‘long-term relationship’ with your rig.
As an example, I built a rig in early 2013 with the ASUS P8Z77-V Deluxe motherboard (reviewed here). This board had USB3.0, PCIe3 Gen3, 2.4GHz Wi-Fi, Bluetooth and Dual Gigabit LAN ports. I paired it with 16GB of DDR3, an overclocked i7-3770K and SLI GTX 670 graphics cards – and it ran very well. This rig doubled as my media server and home file server as well, in fact, I ran it 24×7 until the end of 2019 without a single issue and only retired it due to obsolescence. Over the journey, I probably used all of the key features – some much more than others.
My point here is that although my initial outlay felt like a bit at the time, after almost 7 years of constant running I certainly got my money’s worth out of it and don’t regret the purchase for a second. I should note that the price of the P8Z77-V Deluxe wasn’t in the same league as the Maximus XII EXTREME nor were it’s features.
The Maximus XII EXTREME makes the P8Z77-V Deluxe look like a toy and seems 10-times as durable – it will go the distance from a durability perspective. Like my beloved 2013 motherboard, it will almost certainly become obsolete before it fails.
Performance
The 10th Gen Intel 10600K and 10900K processors can be allowed to run wild on the Maximus XII EXTREME. Overclocking was a breeze and even just removing the power limits will see an improvement in the boost frequencies. This board easily handles the power delivery while the thermal controls including heat sinks, fan headers and water cooling support make for a stable ride.
I appreciated the SupremeFX S1220 audio platform most when gaming, but it was also great for music and movies – well, any media I tried. I couldn’t find any corners that had been cut nor any element that negatively impacted on my experience in any way and after 6 weeks of using the Maximus XII EXTREME with the i9-10900K, there was plenty of opportunity for a driver or stability issue to appear.
Conclusion
This is a brilliant board – there is no doubt. The motherboard itself is perfect with amazing attention to detail by the designers – they have thought about who will use this and how. The scaling has also been considered carefully with the BIOS, software and layout catering to less skilled users through to hardcore enthusiasts. At this point in time with the currently released technology available, it has the lot.
This is a hard sell despite the fact that the Maximus XII EXTREME has Thunderbolt 3, can handle 4 NVME SSDs, features incredible build quality, 10Gb and 2.5Gb LAN plus Wi-Fi 6 and Bluetooth 5.1. The argument of it being worth the asking price could also include the additional fan controller, the almost endless number of fan/pump/flow indicator headers already on the board, the thermal probe points and voltage readings. Don’t forget the enthusiast-level overclocking options to step through your system boot and tweak the BIOS until every cycle of performance has been rung out from your CPU. That all must be worth something, right? The software suite is also the most comprehensive and polished bundle that you will see included with a motherboard. All this goes a long way to ‘explaining’ the price tag but to say it ‘justifies’ the cost of ownership to the point where you drop AUD$1,500 on it is another thing altogether.
This is a sturdy and durable performance motherboard – it’s like the Humvee and Lamborghini of the Z490 range, which is going to be the problem for most of us. I thoroughly enjoyed testing this board but there was the nagging feeling that a large portion of the features were simply wasted on me. Having said that, it’s the most fun I’ve had with a motherboard in recent memory.
The ASUS ROG Maximus XII EXTREME is the overkill that almost all of us can’t sensibly justify to ourselves but that doesn’t make it any less of a product. ASUS has other options in the stable that have everything that we need including some bells and whistles at much more palatable budgets.
For those that want it all, need the extensive overclocking features or perhaps just build a rig once every 5+ years and plan to see how long a ‘forever PC’ will last… The ASUS Maximus XII EXTREME is a true masterpiece once you make peace with the price.

