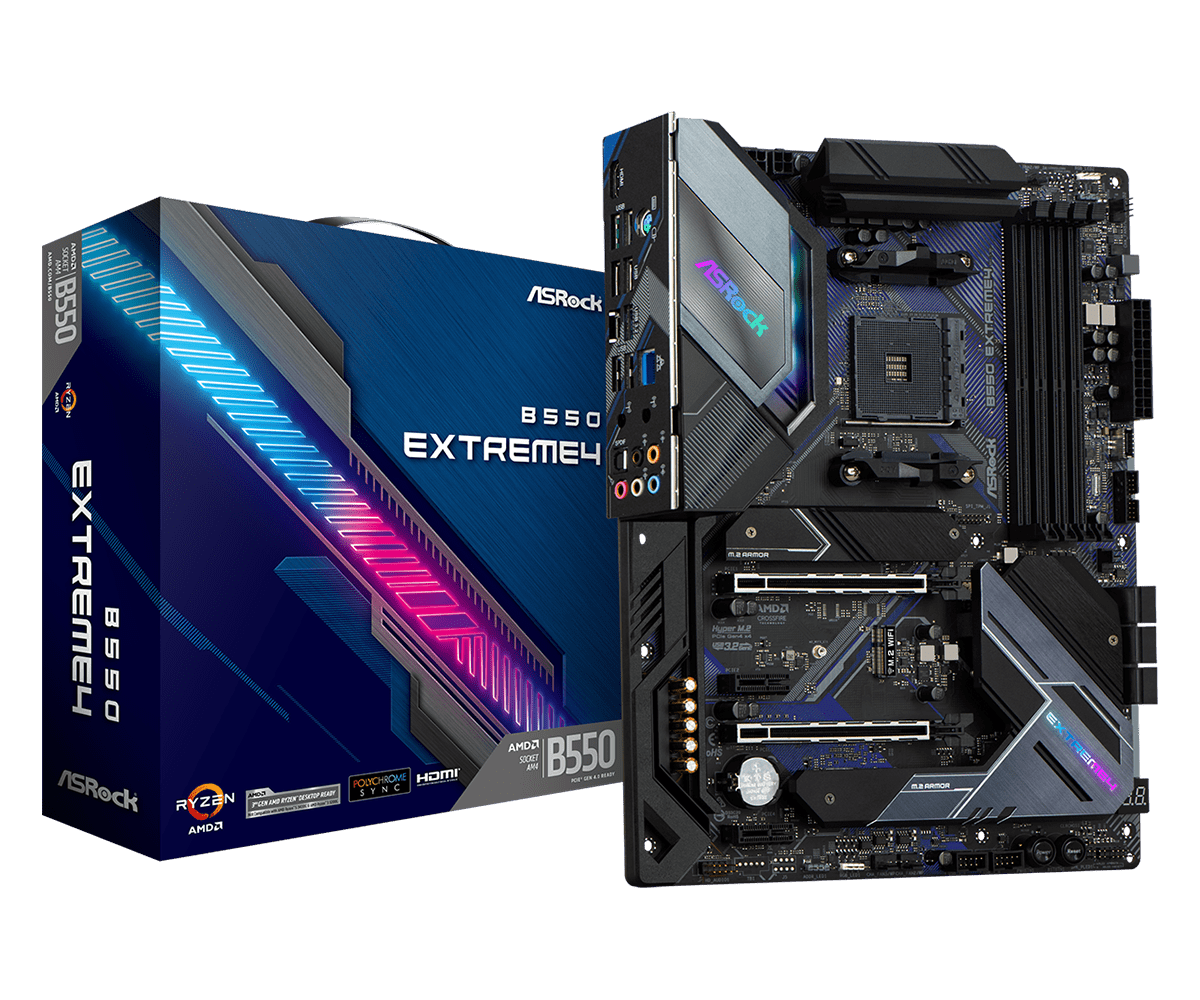
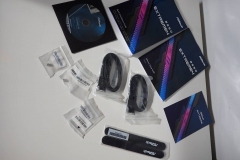
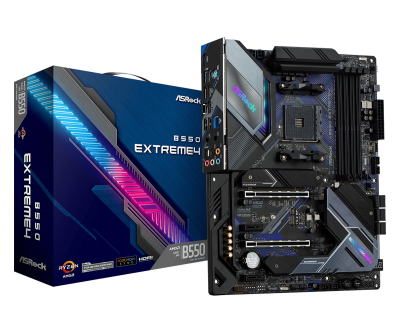
ASRock’s B550 Extreme4 is one of their mid-tier B550 motherboards and has just about everything an enthusiast gamer would be looking for.
There are 12 ASRock B550 motherboards available with a variety of form factors and features. The Extreme4 sits near the top of that tree with a balanced feature set in terms of bells and whistles, durability and price. Make no mistake, the B550 Extreme4 will provide a rock-solid platform for gaming and if you don’t need Wi-Fi out of the box, it will have you covered in every other way.
Key Features
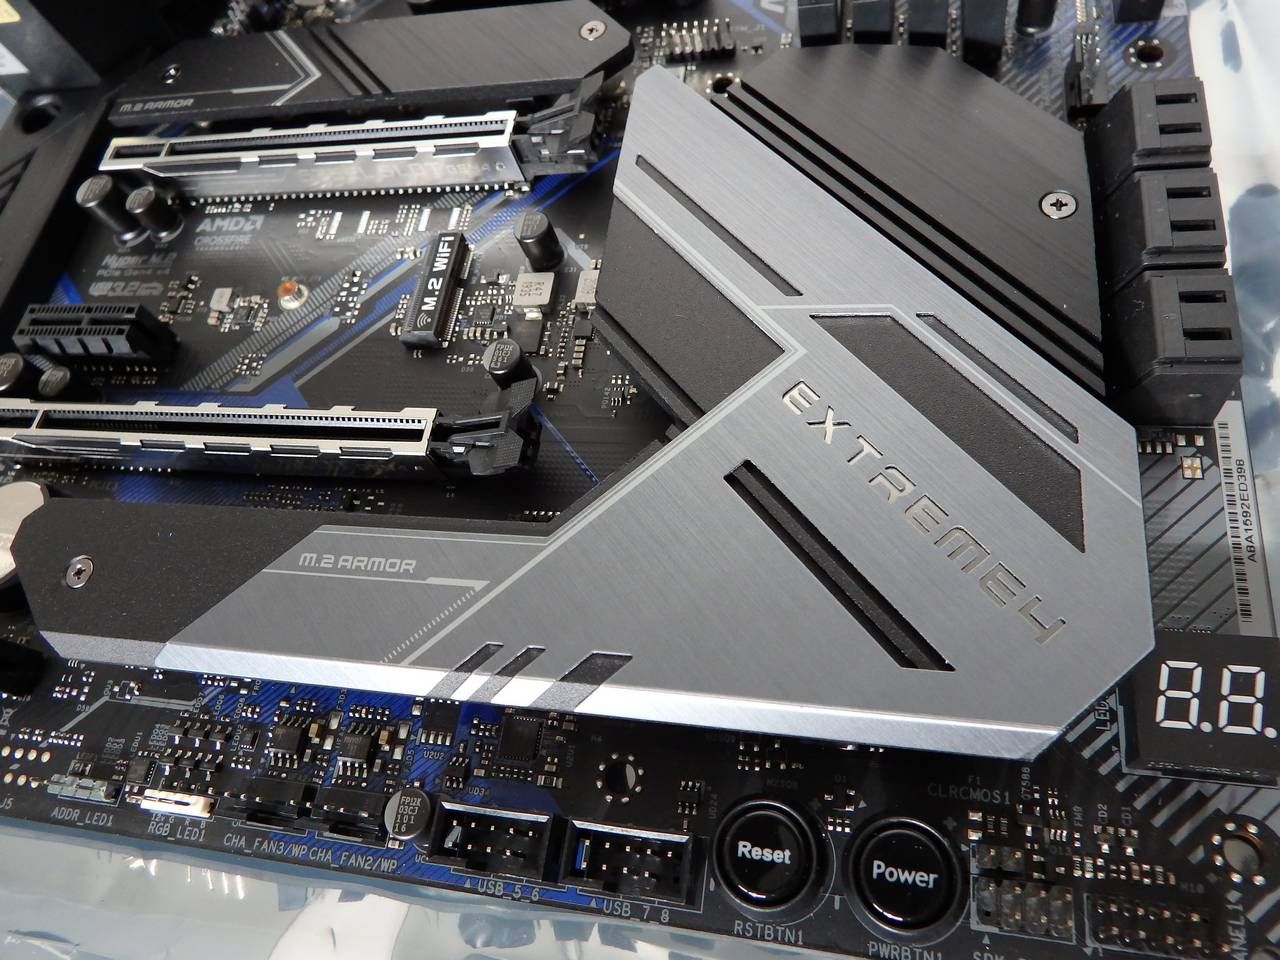
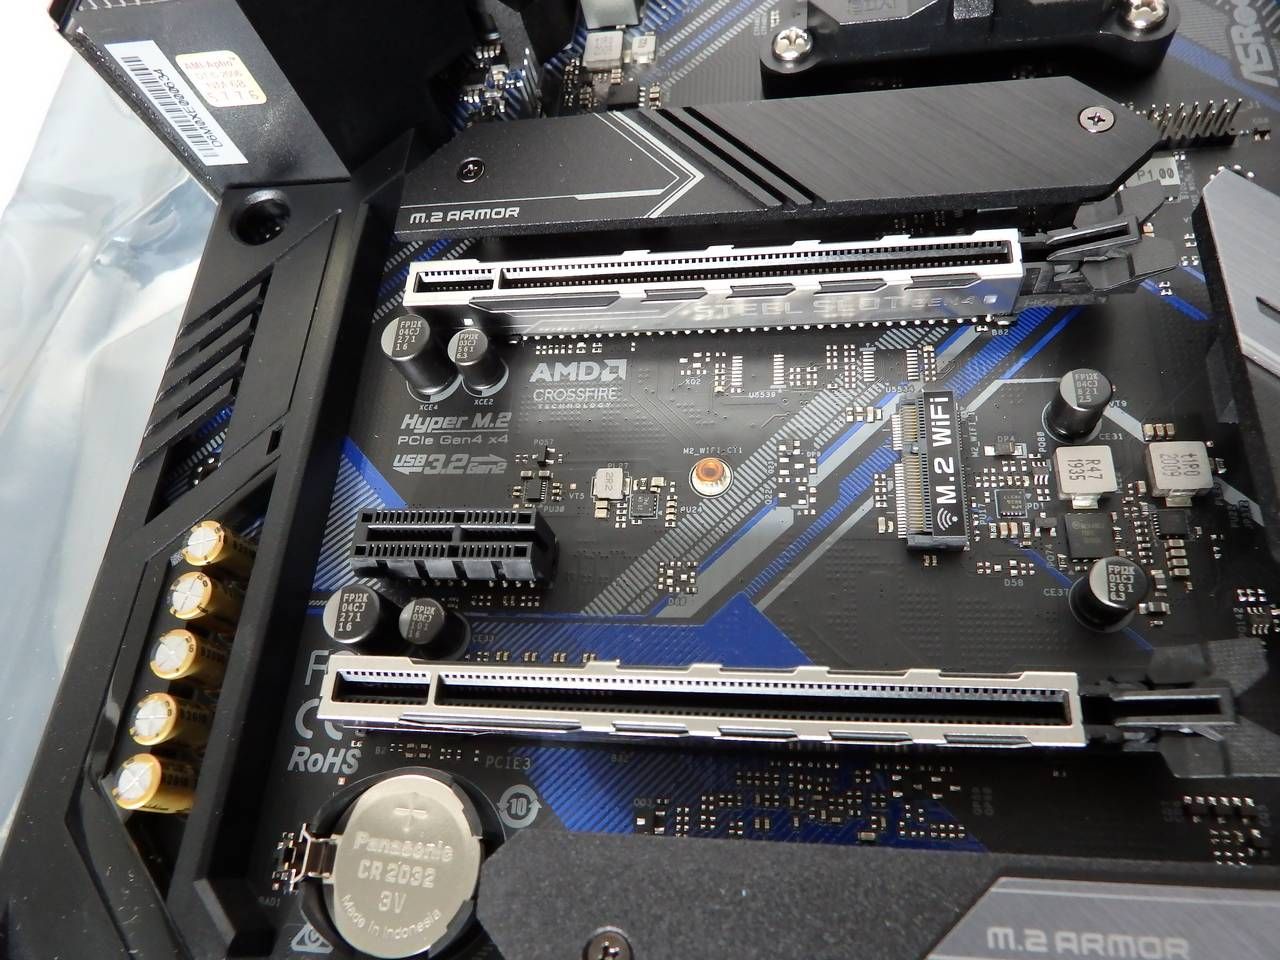
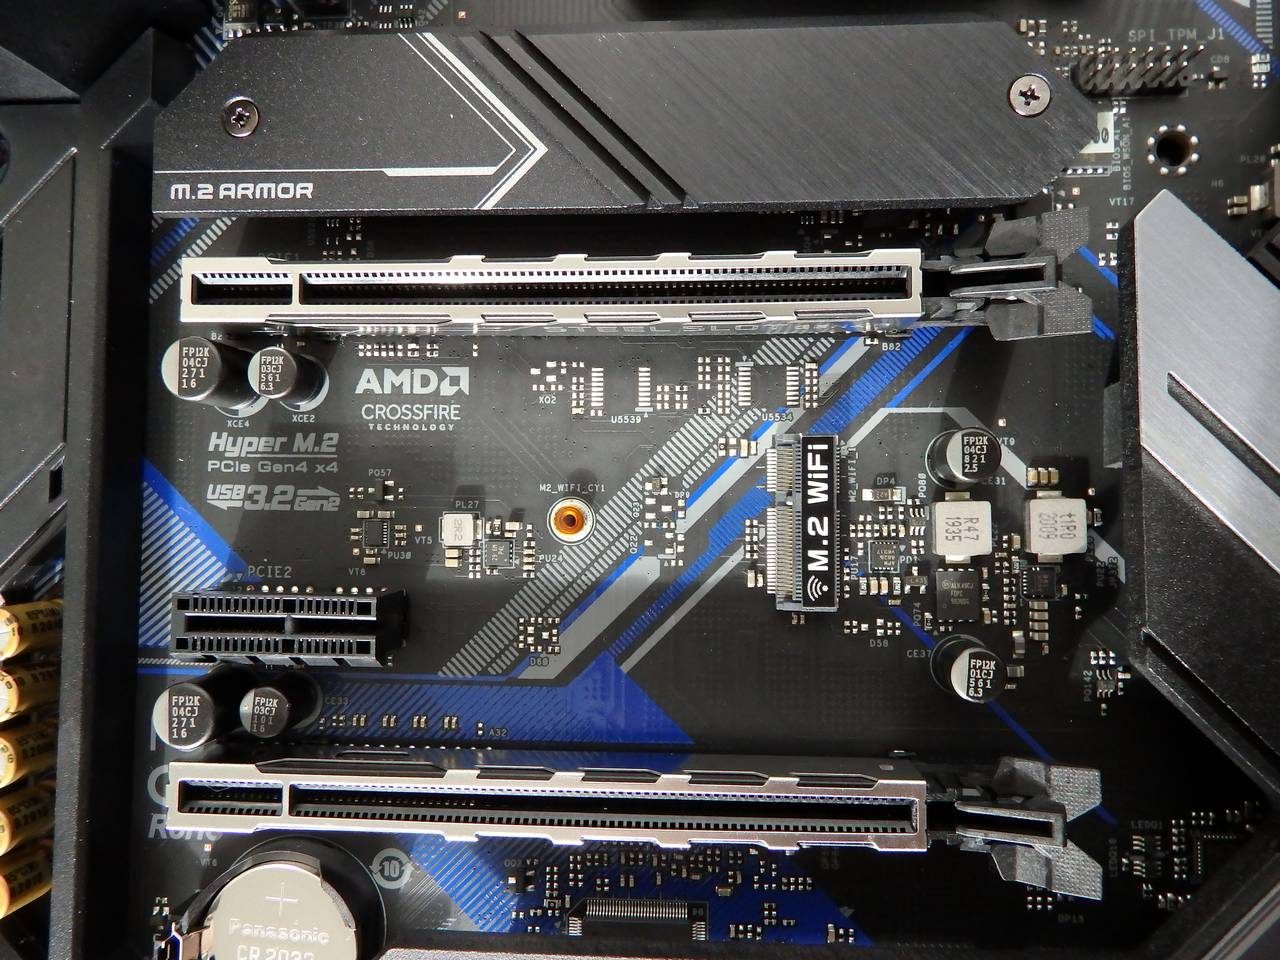
The Hyper M.2 SSD using PCIe 4.0 is capable of twice the speed of the previous PCIe 3.0 standard. The top/central Hyper M.2 slot is PCIe 4.0 x4 whilst the lower M.2 slot is PCIe 3.0 x2 and SATA3 compliant.
The power delivery is a 14 phase design and the DDR4 memory support extends up to 4733+ Overclocked. The capacitors are Nichicon 12K Black Caps rated for at least 12,000 hours of use and the chokes are rated at 60A. When you combine this with the 7 fan headers, onboard power and reset buttons, LED error indicator and spacious socket area, it’s a safe bet that ASRock expects anyone who buys this board to overclock and tweak their system a bit.
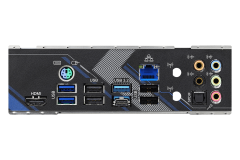
ASRock has included an HDMI port for APUs but most owners will be using Ryzen CPUs that don’t have integrated graphics.
USB connectivity on the rear panel has 2xUSB 3.2 Gen 1 ports, 4xUSB 2.0 ports, 1xUSB 3.2 Gen 2 Type-A, 1x USB 3.2 Gen 2 Type-C with a legacy PS/2 mouse/keyboard port. Ideally, I’d like to have seen more USB 3 ports on the rear-IO but ASRock’s decision to go with this configuration is probably fine given that USB 2.0 is appropriate for keyboards, mice and headsets. There are front panel connectors for 4x USB 2.0, USB 3.2 Gen 1 (2x Type-A and 1x Type-C).
The B550 chipset supports Third Generation Ryzen CPUs but not First or Second Generation. B550 also supports StoreMi for storage tiering where the algorithm will promote frequently accessed data/application files to the faster storage device. This means that you can pair a slower hard drive with a faster SSD, see it as one device and it will tune where the data lives on the device.
Dragon 2.5Gb LAN – This can typically run over standard CAT 5e cabling to routers with 2.5Gb ports and is an intermediate point between commonplace 1Gb LAN and the prohibitively expensive 10Gb LAN.
Pre-mounted rear I/O shields have become more popular in recent motherboard generations across most vendors – a move that makes installing that new motherboard just a little bit easier. The B550 Extreme4 has been implemented in a way that allows for adjustment horizontally, vertically and to suit depth if required. The tolerance is tight but ASRock tried to provide a little ‘wiggle room’ for those that need it.
Aesthetics
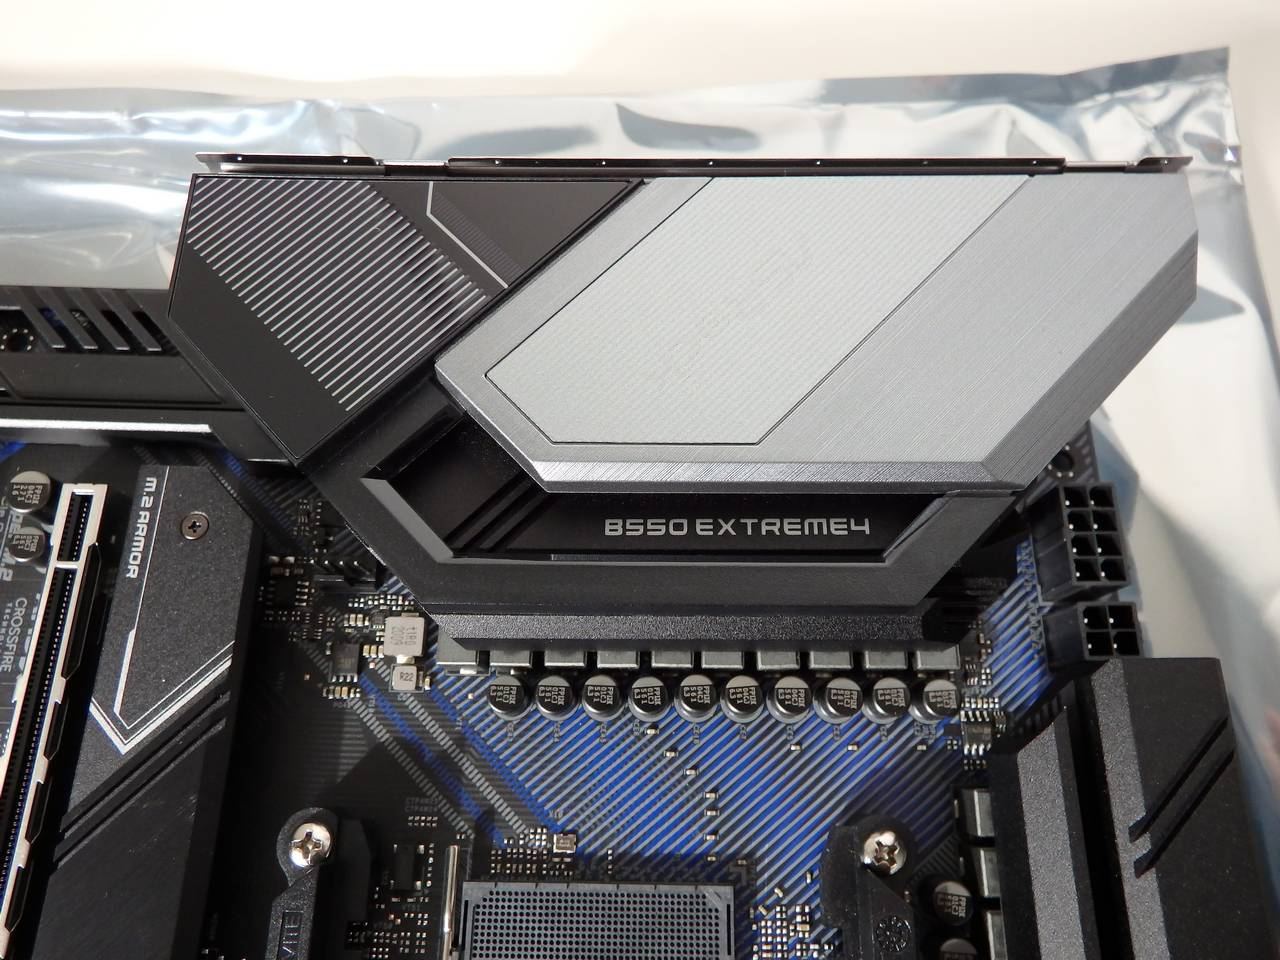
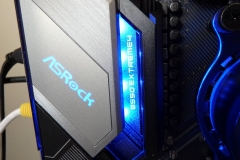
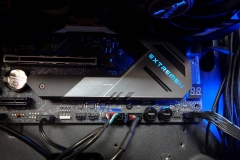
Although the B550 Extreme4 is, for the most part, a dark-themed board with plenty of black, blue, and matte features, the silver metal and plastic highlights with RGB branding provides an effective contrast. The detailing on the heatsinks, rear I/O shroud, M.2 heat shield and chipset heatsink has uniform 45-degree angles that all work together with the print on the PCB for an effective aesthetic.
The heatsinks are matte black with polished accents and etching. Overall, they look great with different textures and backlit branding.
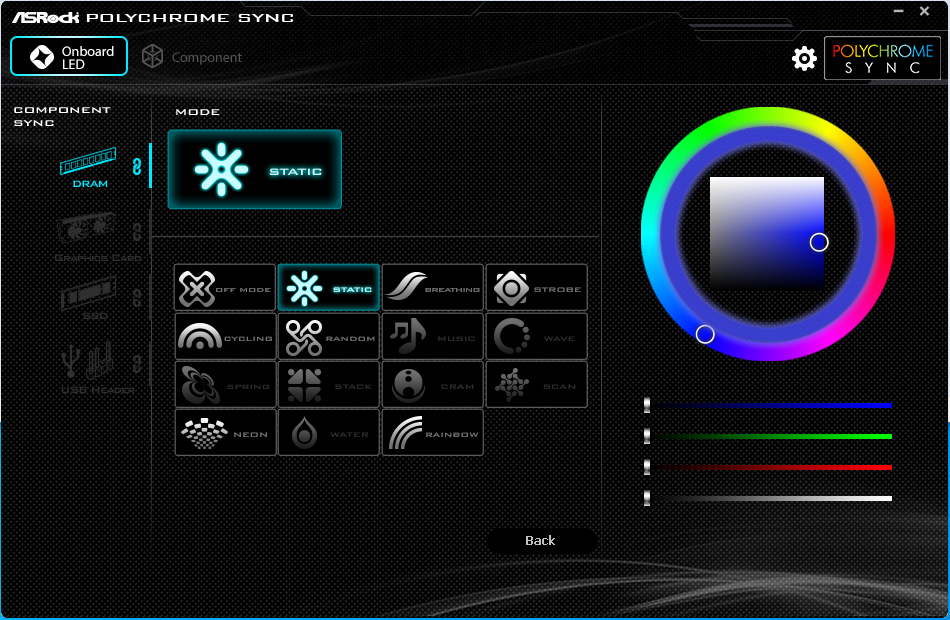
RGB LEDs are present in two areas of the board and not directly obstructed by a two-slot graphics card. If you want more bling, consider RGB RAM or use the RGB headers on the board for RBG/ARGB strips. I’d consider this to be well balanced and subtle enough to suit most people – you can always turn it off or add more anyway (like we did with our test system). The ASRock RGB software found and managed the RGB LEDs on our HyperX Predator 2933 without any dramas.
The Polychrome RGB software is simple to use with only two screens to manage. The interface is intuitive and the configuration is easy to navigate.
Build Quality
I didn’t note any unusual flex in the board nor any loose headers or heat sinks. Everything looked to be perfectly aligned and there were no detectable manufacturing defects. All soldering points appeared to be clean and precise as you would expect.
There is full spike protection for all USB, audio and LAN ports. We also see reinforced ‘Steel Slot’ PCIe slots which have a stronger latch, additional anchor points and an upgrade to PCIe 4.0.
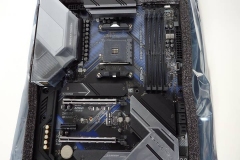
The finish of our review sample was very good with no notable blemishes to the printing on the PCB, heatsink execution and the RGB LED implementation. ASRock has a plastic film covering most of the polished surfaces to make sure it doesn’t get marked up between the factory and the owner. In addition, ASRock also has the board zip-tied to the foam packing and inside an antistatic bag within the ample cardboard box for shipping so it’s well protected.
When mounting this board inside a case be sure to note that ASRock uses an extra ATX mounting screw on the left side below the centre PCIe slot. Cases will have a stand-off point for it because it is part of the ATX standard – just make sure that you add that particular stand-off before fitting the board to your case. It isn’t something I tend to see from other manufacturers, but it is present on many ASRock boards that I’ve tested. This adds more strength and rigidity to the board around the graphics card slot area so it’s a good thing.
Super Alloy Package
ASRock has included their Super Alloy Package to fortify the durability of the motherboard. The elements include:
The PCIe slot has a solid metal surround with extra mounting points than traditional PCIe slots and a stronger latch. As graphics cards get heavier, it makes sense to reinforce the PCIe slots and we are seeing this as a standard offering across enthusiast level cards.
The ASRock Super Alloy package also features here which includes:
- XXL Aluminum Alloy Heatsink
- Premium 60A Power Choke
- 50A Dr.MOS
- Nichicon 12K Black Caps (100% Japan-made high-quality conductive polymer capacitors) rated for 12,000 hours lifespan
- I/O Armor for ESD, thermal and physical protection
- Matte Black, High-Density Glass Fabric PCB
- 2oz Copper PCB
Reliability & Track Record
We receive questions about build quality from readers about ASRock motherboards – more so than other vendors so I wanted to digress for a moment and talk about our experience with the ASRock boards we have reviewed to date. I also extended the testing period to almost 8 weeks for the B550 Extreme4 in order to identify any driver issues, build quality concerns or short cuts and concluded that there was nothing to find here.
The B550 Extreme was very much set and forget. I built the test platform and used it for all of my gaming and general PC use for over a month solid. We overclocked the Ryzen 3 3100 and 3300X CPUs, let Windows apply a few updates and essentially put it through its paces as we’d expect an enthusiast gamer might…. and there is nothing to report other than it did what it’s meant to without any glitches, quirks or annoyances.
Since 2015, we have tested nine ASRock motherboards and used many in an ongoing capacity. In my first-hand experience, I’ve never had an issue let alone a failure that would require RMA (disclaimer: not to say it doesn’t happen…just that it has never happened to us).
Both the features and build quality between the different ‘families’ of ASRock motherboards seem to scale no better or worse than other manufacturers in our experience. As an example, the X399 Taichi impressed us with its feature list and bling whilst we noted the B450M-Pro4 made some sensible sacrifices to meet an aggressive price point. The B550 Extreme4 sits in the upper-middle of the B550 range and I can’t fault the build quality at all.
Software
Generally speaking, the software bundles on ASRock motherboards lack the polish and wow factor of other manufacturers but the Polychrome RGB, Dragon LAN and Nahimic Audio are closing this gap. Bundled software might not be a big deal to many people as key monitoring utilities can be found free or at a low cost. It’s not hard to find forum posts calling out a typical motherboard installation CD to be mostly bloatware. The software you do get with the B550 Extreme4 is useful and stable – there’s no bloatware here.
The App Shop is an easy place to download utilities and keep them up to date whilst the ‘Restart to UEFI’ program saves you mashing the ‘DEL’ button as you try to get into the BIOS. Both ASRock applications have been around for a while and they continue to make life a little easier without impacting system performance.
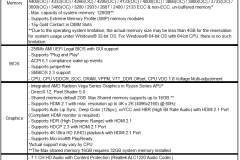
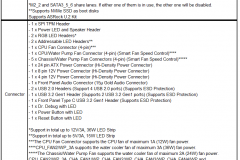
Specifications
The link to the ASRock product support page for the B550 Extreme4 can be found below. This page contains Qualified Vendor Lists for CPU compatibility, memory and storage.
Layout
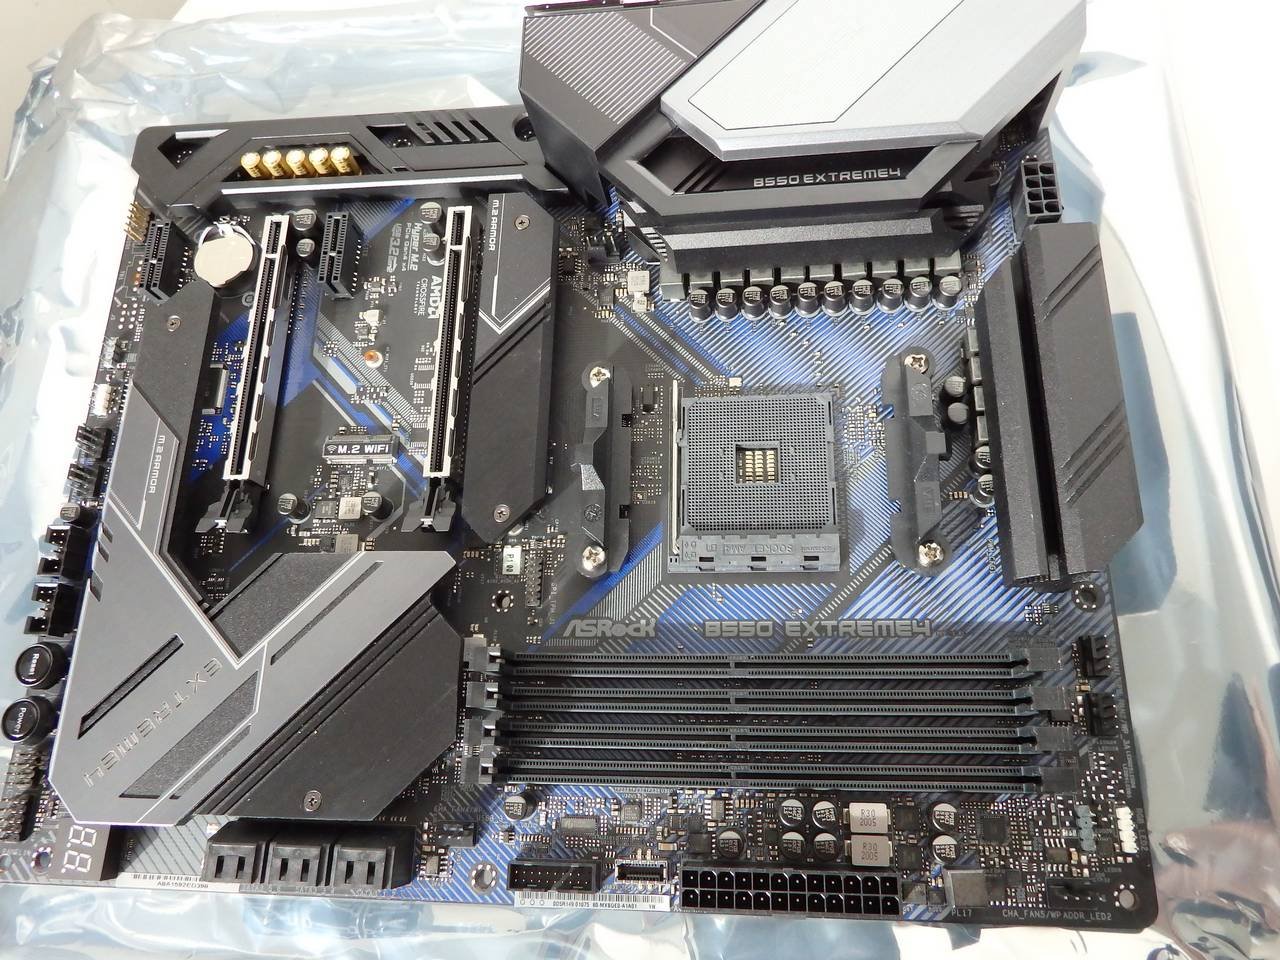
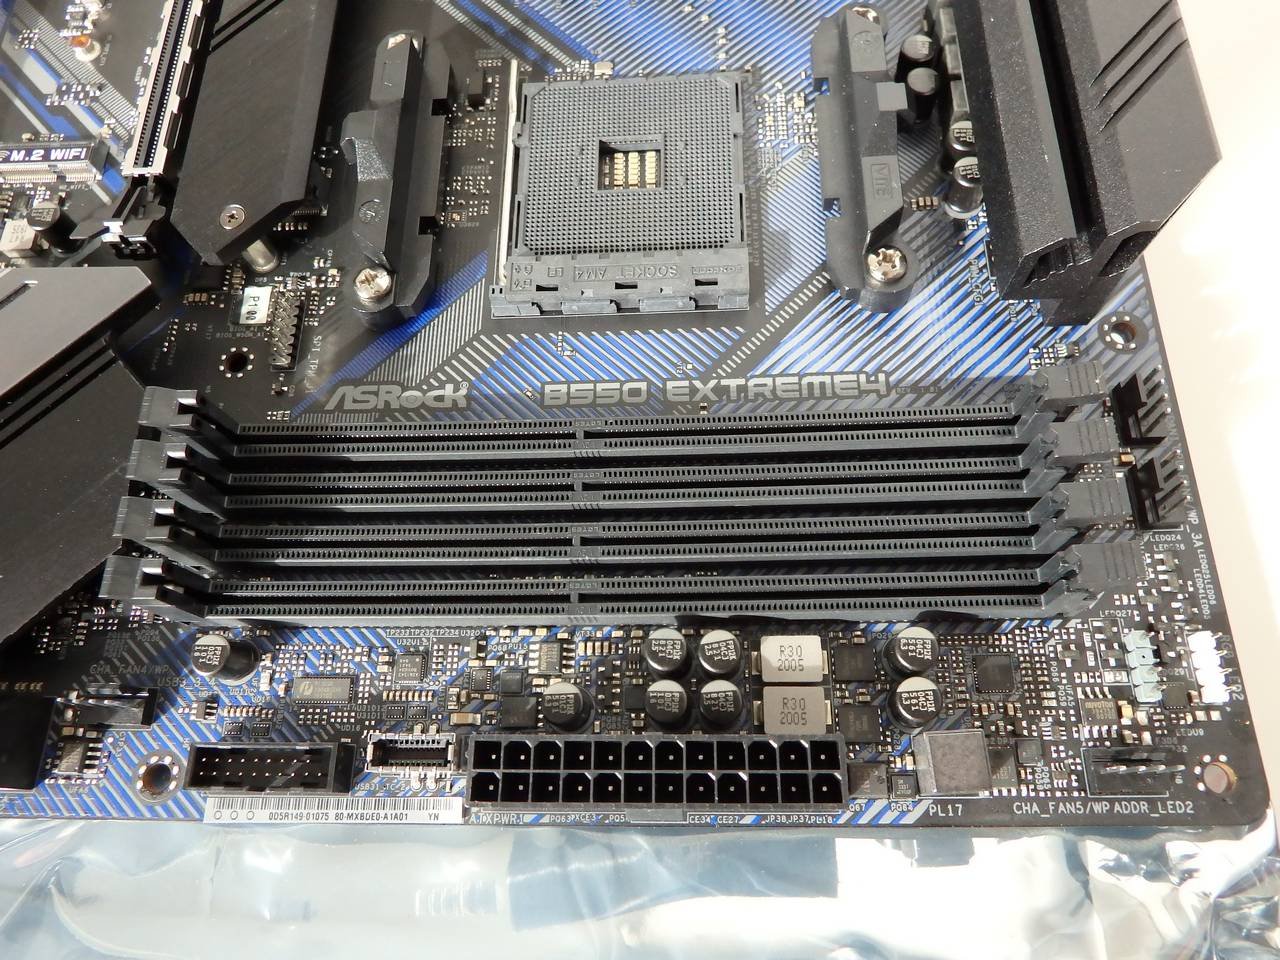
The layout is practical and consistent with other recent ASRock motherboards. Installation was a breeze and everything I needed was exactly where I expected it to be. The SSDs are distanced from GPU and CPU hot spots as much as one could reasonably expect.
Fan headers can be found around all edges of the board with the rear chassis fan tucked in between the VRM heat sink and the central M.2 slot for a close and neat journey to that typical rear exhaust fan.
The USB 3.2 headers are located mid-board on the right edge below the 24-pin power connector which should suit the cable routing holes in a majority of cases. The 8+4-pin CPU power connectors are on the top left corner of the motherboard in the usual location and still easily accessible, not placed too close to the VRM heat sinks.
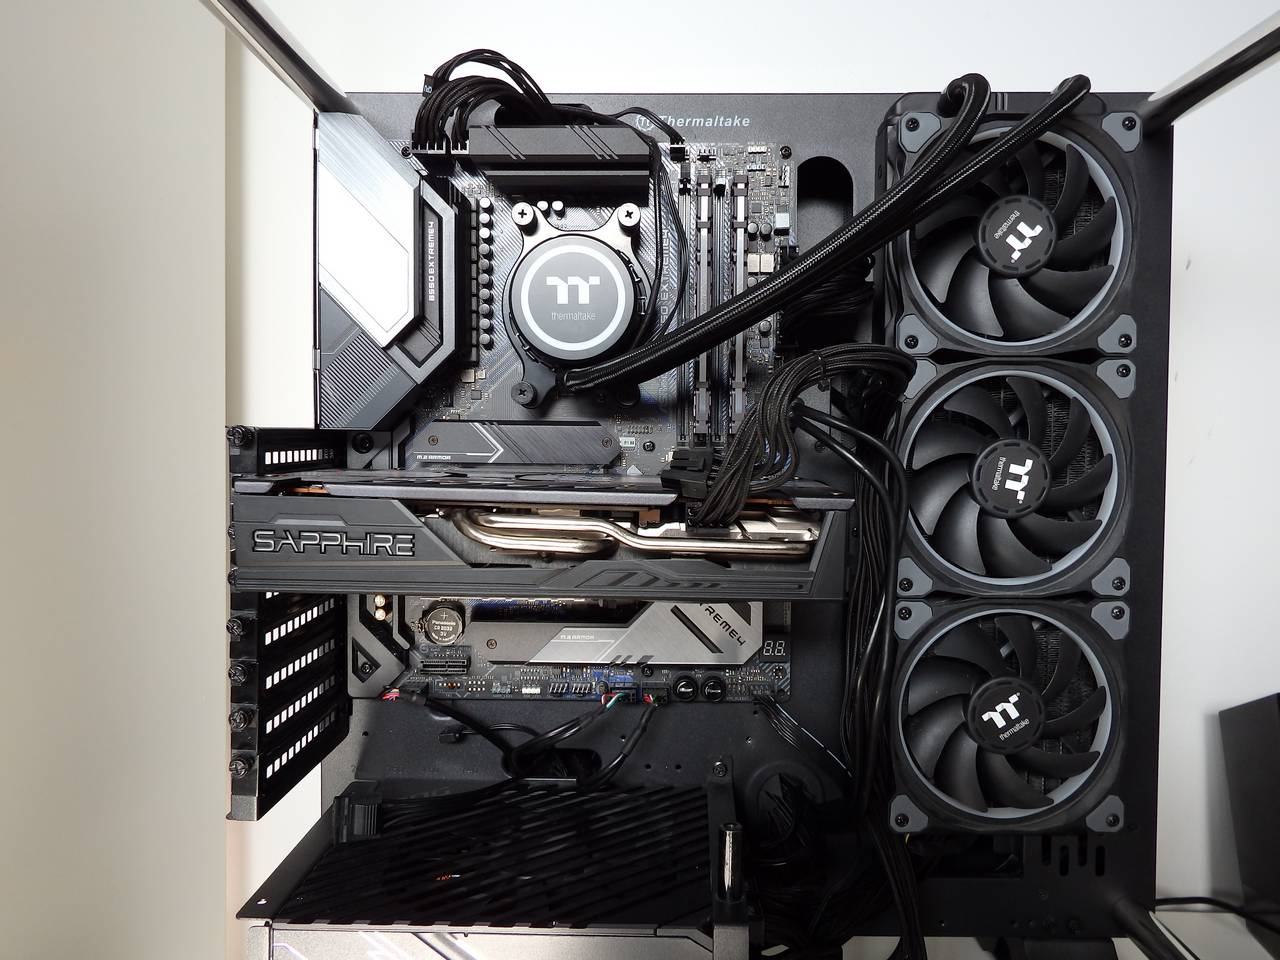
The area around the CPU socket is clear of obstruction for water cooling, stock coolers or tower CPU heatsinks.
The rear I/O plate is integrated into the I/O shroud which is always a plus – note that there are two mounting holes for Wi-Fi if you add an M.2 (Key E) Wi-Fi module later. At the moment this gives owners a choice of 802.11ax Wi-Fi 6 or the lower tier 802.11ac adapters.
There is a plastic frame around the audio components that will protect them from accidental knocks and general installation clumsiness – this also provides an appealing aesthetic with the left edge of the board looking neatly squared away.
Having the battery placed in the lower third of the motherboard and away from the GPU slot means that if you need to pop it out to reset CMOS after a dodgy overclock then it’s a simple job that doesn’t require any reconfiguration.
In summary, the layout is quite easy to work with and doesn’t have any apparent oversights or useability issues. Building with the B550 Extreme4 is straightforward and well suited to attaining a neat cabling job thanks to the header placements.
Audio
7.1 channel HD audio is supplied via the Realtek ALC1220 audio codec. The audio experience is good and like every other implementation of the ALC1220 codec that I’ve seen, it was clear in movies, music and games. Front panel audio sounded the same through headphones as the rear audio jacks with no noted static, popping or interference. The 3.5mm audio jacks are gold for optimal connection and there is an optical SPDIF port in the usual place.
LAN/WIFI
We were able to saturate our gigabit LAN with the 2.5Gb Dragon RTL8125BG chipset.
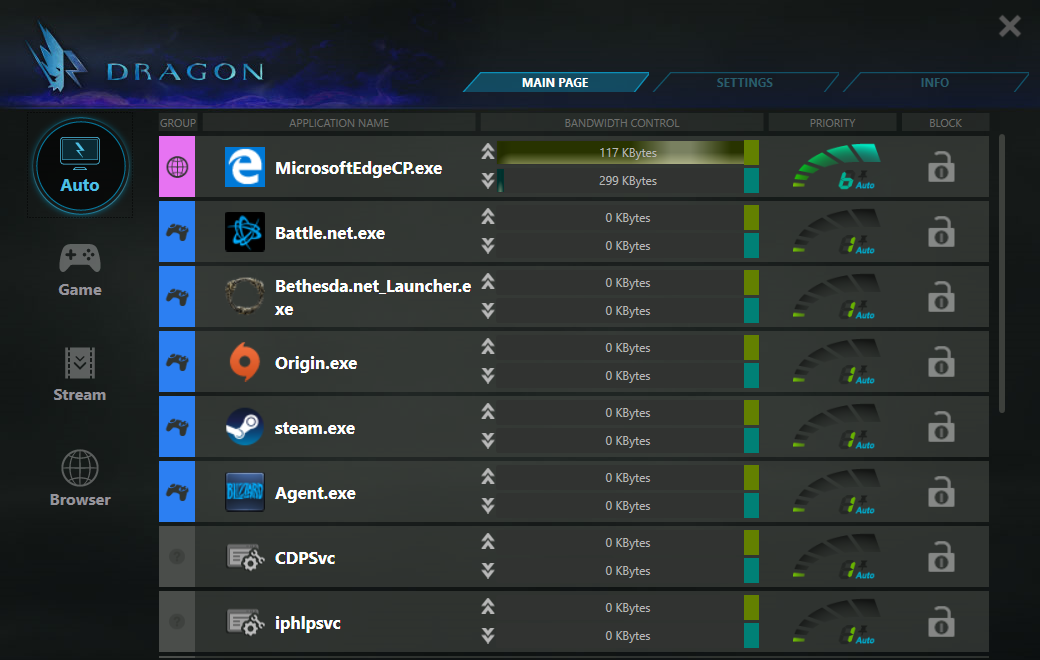
In terms of online gaming whilst downloading, the Dragon Software did its job and appeared to be prioritising the traffic adequately. The method wasn’t overly scientific in that I kept an eye on the latency in-game and had the Dragon LAN software window open on a second monitor. I also disabled any QoS on the router during these tests. I didn’t have any issues when streaming content or playing online games with competing traffic in my testing. That said, I’d always recommend limiting concurrent network activity if gaming competitively online.
Manually adding Wi-Fi via an M.2 KEY module at the time of purchase changes this value proposition a little and makes some of the other Wi-Fi -enabled motherboards (including ASRock offerings) seem better value. If you need Wi-Fi, buy a motherboard with Wi-Fi at the time. The option to add M.2 KEY Wi-Fi later could be handy if your needs change and this is cheaper than buying a discrete Wi-Fi PCIe card so there is still value in the “Wi-Fi upgrade” option ASRock incorporated int the B550 Extreme4.
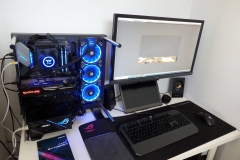
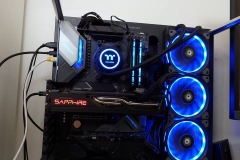
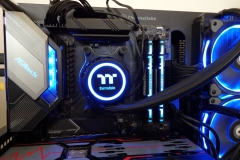
Test Platform & Supporting Components
- AMD Ryzen 3 3100 & 3300X
- 16GB 2933MHz HyperX Predator RGB (2x8GB)
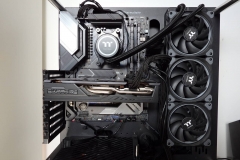
- Thermaltake Floe Riing 360 water cooler
- Thermaltake Core P3 Curved Test Bench Case
- ASRock B550 Extreme4
- Sapphire RX 5600XT 6GB
- Samsung Evo 840 250GB SSD
- WD Black 6TB 3.5″ HDD
- ASUS THOR 1200W PSU
- ASUS TUF K5 Keyboard
- Logitech Z533 desktop speakers
- BenQ EL2870U
Overclocking
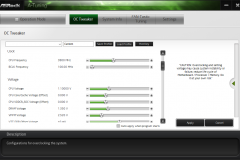
We managed to get very respectable all-core overclocks of 4.4GHz with our Ryzen 3 3100 and 4.5GHz with the 3300X. Both overclocks were achieved with up to 1.4v VCore.
I didn’t have anything bigger to test the overclocks with and if I get an opportunity to test with a Ryzen 7 or Ryzen 9, I’ll revisit this.
Thermals and Fan Control
The first thing I noticed was the lack of a heat pipe between the VRM heatsinks. I didn’t encounter any thermal issues in testing, even when overclocking, and the heatsinks are what I’d consider slightly larger than average with a design that incorporates grooves to provide more surface area.
What I can say is that on our open-air test bench without any active airflow, the VRM heatsinks were warm but didn’t feel hot to touch. When I added some light active airflow to simulate either a top or rear mounted case fan, the air passing over the VRM heat sinks seemed effective.
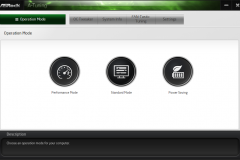
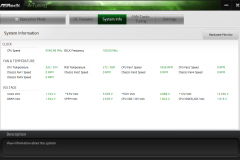
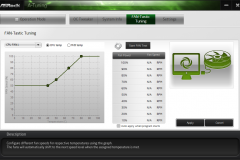
The A-Tuning application allows for fan control profiles though Windows software. This is a relatively basic application, but it has all of the essentials a few pre-sets and it does what it needs to intuitively.
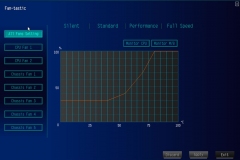
The fans can also be tuned in the BIOS. Typically, when I finish a build, I like to run the fan tuning on whatever motherboard I’m using and tweak the idle/minimal levels and fan curves to smooth out the rate that the fans ramp up when the temperatures increase. The last few ASRock motherboards that I’ve tested (including this one) have been very good when set to the default ‘AUTO’ and I’ve ended up not bothering to tune them.
UEFI BIOS
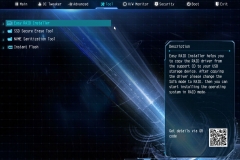
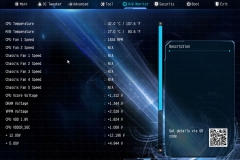
The BIOS is intuitive, and I didn’t have any issues with it. Everything was easy enough to find and clearly labelled. I was able to overclock via the BIOS as if I had been using it for years as this is consistent with other ASRock motherboards I’ve tested. Updating the BIOS on the B550 Extreme4 via USB was quick and easy – as it should be.
Essentially, this is a functional and stable BIOS with a few handy utilities for initialising storage devices.
Pricing
At $330AUD, the B550 Extreme4 seems a little on the expensive side. Other B550 options have similar specifications but also include Bluetooth and Wi-Fi at around the same price or cheaper. Adding Wi-Fi to the B550 Extreme4 will cost between $30AUD and $50AUD for the M.2 module dependent on whether you buy an AC or Wi-Fi 6 AX module. It’s fair to say that the B550 market is very competitive if not saturated.
Final Thoughts
Installation was easy, the motherboard layout has been thought through and everything just worked as I expected it to. Both M.2 slots have thermal protection and are located away from the typical hot spots.
Multi-GPU support is limited to AMD Crossfire but only a minority of system builders run multi-GPU rigs and those that need SLI will need to look elsewhere.
Aesthetically, the LED implementation is pleasing, and the matte black heatsinks with polished metal highlights looked great. The use of different textures provides a level of detail that is another step forward from ASRock. I’ll confess that I’m not 100% sold on the blue PCB decoration but it isn’t offensive, and this will be something that falls under ‘personal preference’ as everyone is different when it comes to colours. The blue is still subtle in an enclosed case and should not be a deal-breaker unless you really don’t like blue… If you don’t like the B550 Extreme4 aesthetic, the alternative and identically priced ASRock B550 Steel Legend looks to be a very similar spec but with a different colour palette, a Display Port output for APUs and it doesn’t have onboard power and reset buttons.
In terms of features, the B550 Extreme4 has just about everything and you can add Wi-Fi later easily enough – even integrate the antennas into the rear I/O shield where there are mounting holes already prepared.
ASRock used the ALC1220 audio platform to deliver a premium entertainment experience and it didn’t disappoint. There was no static or interference noted when using headphones through the front or rear 3.5mm jacks and the microphone levels were clear in VoIP.
Overclocking was easy and stable with the Ryzen 3 3100 and 3300X CPUs tested. In terms of durability, I couldn’t see any reason why this board would not go the distance and ASRock has made an effort to bolster longevity.
The price could be more competitive considering the alternatives so keep an eye out for good deals if you’re chasing this board.
The B550 Extreme4 provides a good platform to experience what Ryzen 3rd generation has to offer with room to add M.2 Wi-Fi of your choice at a later date.
| ASRock B550 Extreme4 | |
|
PROS |
|
|
CONS |
– $330AUD seems a little high given the competition |
| Awards |  |

