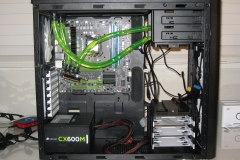
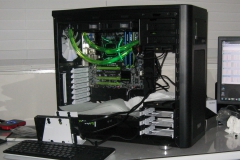
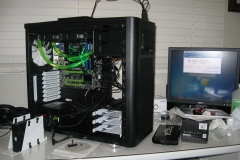
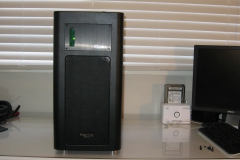
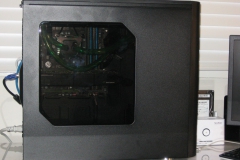
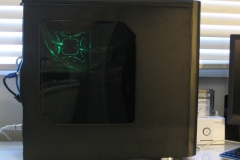
Re-installing hardware was pretty straight forward and involved:
- Installing the motherboard (with 2 sets of hands again but you could do it on your own)
- Re-installing the radiator fans making sure that they were pushing air in the right direction and that the cables were positioned in the middle at the back.
- Fitting the XSPC backplate and CPU water block
- Re-installing the power supply in the base of the Arc Midi R2
- Re-connecting the hard drive and SSD outside the case still – we wanted to make sure everything was 100% before tidying up cables and finishing off the build.
- The XSPC radiator fans and upper front 140mm Fractal Design intake fan were connected to the Arc Midi R2 integrated fan controller and set to 12v.
After powering up our newly water cooled rig, we did some thermal tests and found everything to be as expected – we watched closely for any evidence of leaks since installing components. When we ran the thermal test again, we laid out paper towel as a precaution because this was the first time we tested the loop with warm water. As expected, we didn’t have any issues at all. For the next few hours, we benchmarked the stock fans, then substituted in a pair of Noctua NF-F12 PWM fans, running them off the CPU PWM fan header and setting the profile to match the ASUS standard one that we have used in the past. The NF-F12 fans were then benchmarked the next evening.
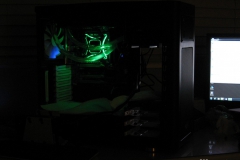
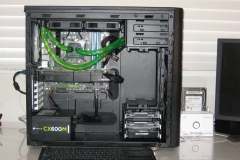
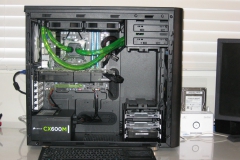
The SSD and hard drive were attached to drive trays and installed in the lower drive cage, the Gigabyte GTX580 graphics card was installed and the cables were all neatly routed around the inside of the case. With the middle drive cage removed and the 140mm fan in the upper front slot feeding the inside of the rig, airflow was pretty good and we have not experienced any thermal problems.
I’m pleased to say that we have been gaming on this rig for over a month now and running it for extended periods without any issues at all. In terms of noise, the pump noise is audible but not offensive – it’s constant and low, blending into the background. With the stock fans set to 5v, they are barely audible but still effective. The radiator fans may be even more effective if we removed the light foam filter from the roof panel but with the temperatures being fine, we left the foam in place.
Lessons Learned
Personally, his build was the most rewarding build I’ve undertaken to date and on reflection, more fun than my first build many years ago. If you are competent building PCs and contemplating a custom loop but lack the confidence, my advice is to have a go but take your time and plan it out. The Arc Midi R2 turned out to be a brilliant partner for the XSPC Raystorm 750 EX240 and having been bitten by the water cooling bug, I’m already thinking about my next water cooling project.
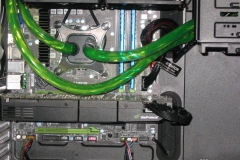
The one regret I have is that I could have cut the line from the radiator to the reservoir about an inch or so shorter and had I dry fitted the graphics card earlier, I would have spotted this better. My mistake was counting PCIe slots on the case rather than the motherboard itself. This was a n00b error of judgement but in the end it didn’t matter because the hose clears the card by 20mm – it just doesn’t look like it in the photos. The thing that caught me out was that on the G1 sniper M3 board it’s top PCIe slot is a 16x, not a 1x. At the end of the day, the line was too long and when I eventually drain the loop, I’ll trim it down.
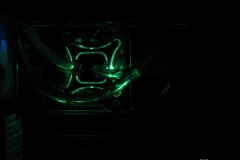
There are a few things that we would like to tidy up still. Case lighting and some different braided cables are on the agenda as is a drain line and maybe a temperature or flow sensor for the water loop.
We hope that you found this article interesting and would encourage you to look at others like it if you are planning your first water build. The way we undertook this project isn’t necessarily “text book” but it worked out well just the same.

