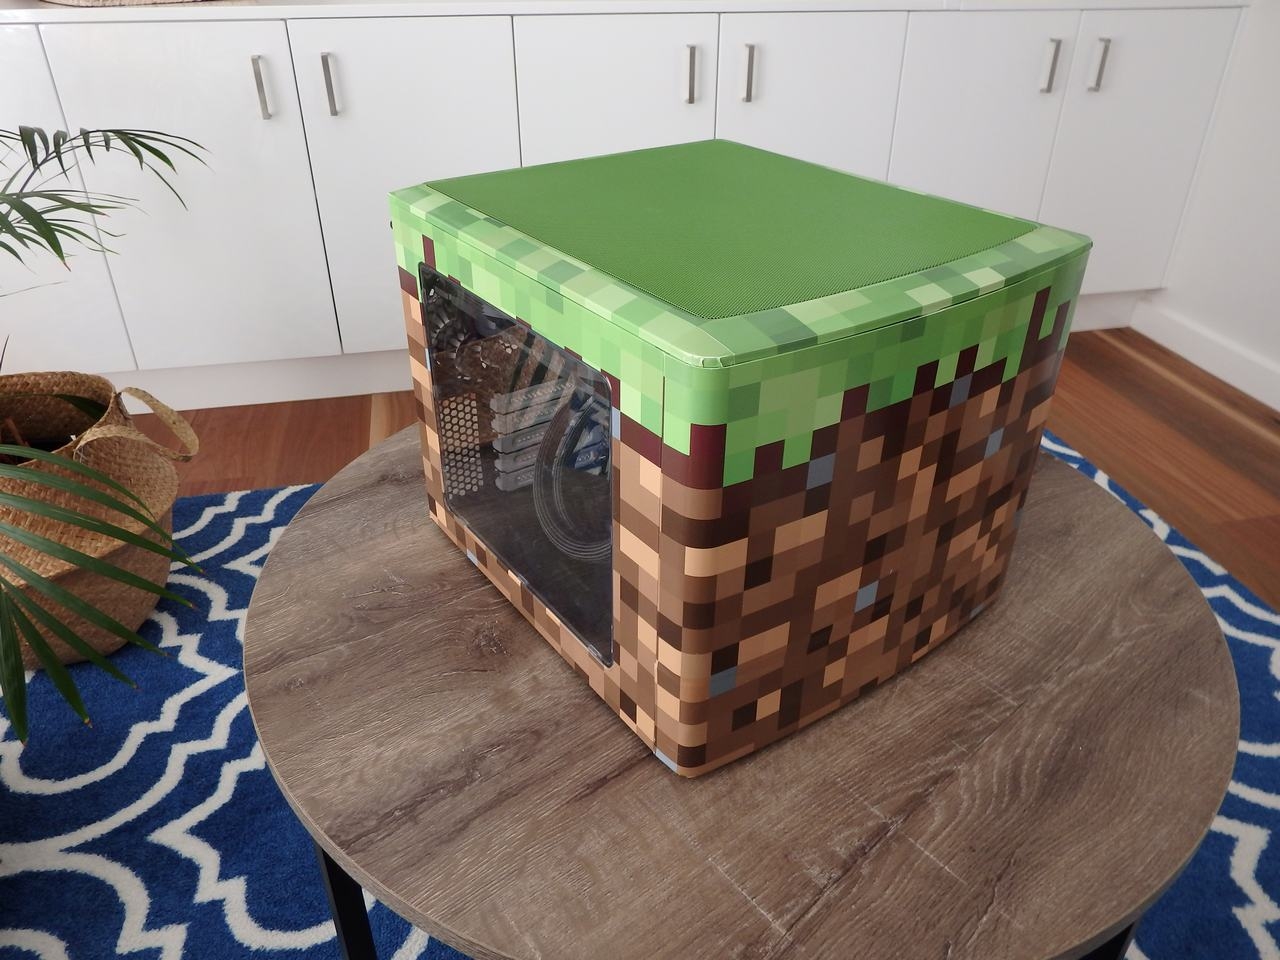
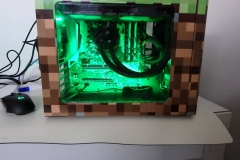
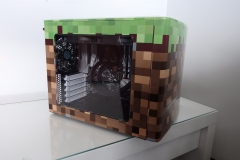
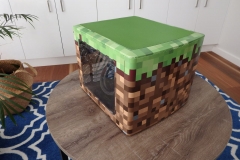
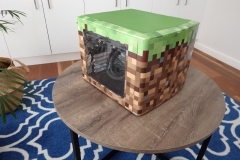
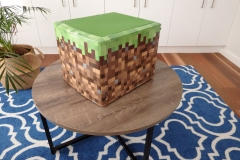
A little over 4 years ago, I modded a Fractal Design Node 804 case to create our Minecraft Tribute PC. Since then, it’s had moderate use but technology has moved on and it needed some attention. The case itself still gets attention whenever we take it out and about – even people who see it in the office stop and ask about it. Then I’d tell them what’s in it and there’s that flash of disappointment. Yes, Z77 and Intel’s Sandy Bridge appear to be considered ‘old school’ in 2019.
So I asked myself “If you had your time again in 2019, what spec would you build?”
The Fractal Design Node 804 would still be my choice as its about the ‘squarest’ case you can get and I haven’t seen anything else that I think would come up as close to the Minecraft brief.
In 2015, we went Intel with a dedicated GPU because the onboard Intel graphics weren’t up to the job of gaming – and not much has changed in the Intel camp on that front.
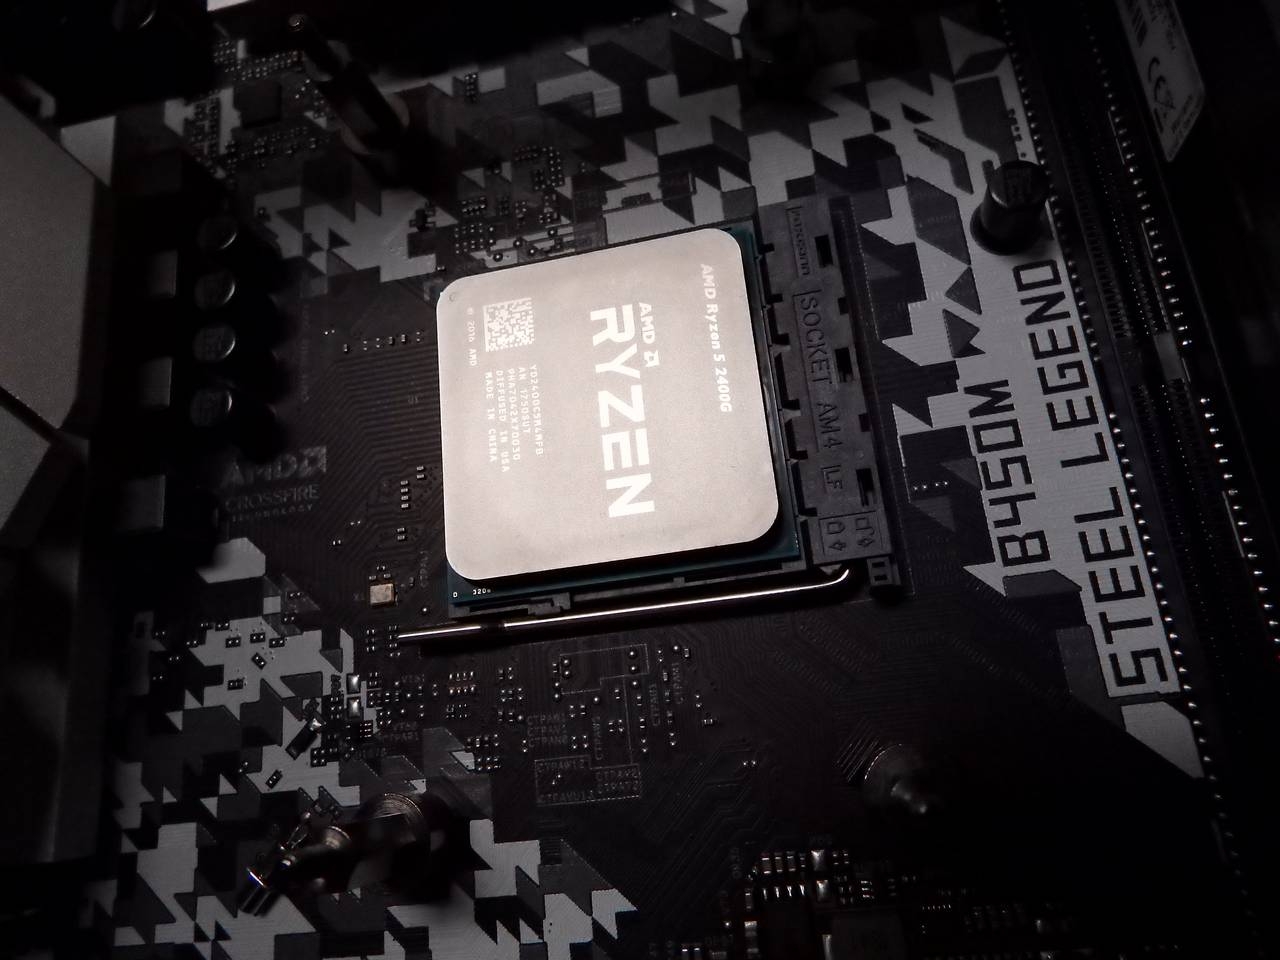
Now it’s 2019 and luckily for the gaming community, AMD delivered this awesome little gem in 2018 known as the Ryzen 5 2400G – A 3.6GHz 4 core/8 thread CPU with a genuine entry-level gaming graphics processor that made it a viable APU for this exact purpose. The 2400G also had AMD VEGA 11 Graphics under the hood and it was more than a token functional graphics unit. VEGA 11 also works with FreeSync monitors and uses up to 2GB of system memory. Intel had a viable alternative in terms of performance for RYZEN and Threadripper last year – albeit at a higher price – but when it came to CPUs with integrated graphics AMD’s RYZEN+VEGA Raven Ridge processors completely smoked the blue team.
For 1080p gaming at low-to-medium settings on modest titles the 2400G actually does pretty well and for less demanding titles it’s going to keep most casual gamers happy. If you outgrow it, simple, just add a discrete card later on.
My first thought in terms of a refresh platform was AMD Ryzen and the processor had to be the 2400G – it was designed for this exact scenario. I reached out to AMD who agreed and provided us with a 2400G processor for the refresh project.
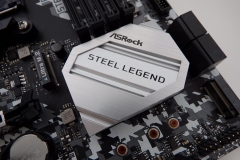
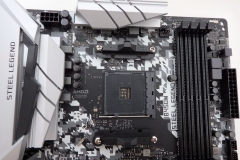
Next, I needed an MATX board for the build. ASRock had just announced their Steel Legend series and the spec – along with the aesthetic of the ASRock Steel Legend B450M – looked like it would be perfect. I had some G.Skill SniperX DDR4 3400 that would be suitable for VEGA 11, in fact the heat sink would also match the camo pattern on the motherboard.
The video outputs on the Steel Legend B450M included DisplayPort and HDMI – I was keen on DisplayPort so that I could use FreeSync with the economical ViewSonic 24″ VX2457 75Hz unit. The VX2457 is still available at $179AUD and is well matched to the rest of the spec for this build.
The build itself will be fine for the purpose of running games like Minecraft, The Sims 4, World of Warships, Esports titles, some Indie projects and older games. We essentially just dropped the need for a dedicated graphics card, making the project cheaper with less power consumption and cables – Win!
Storage
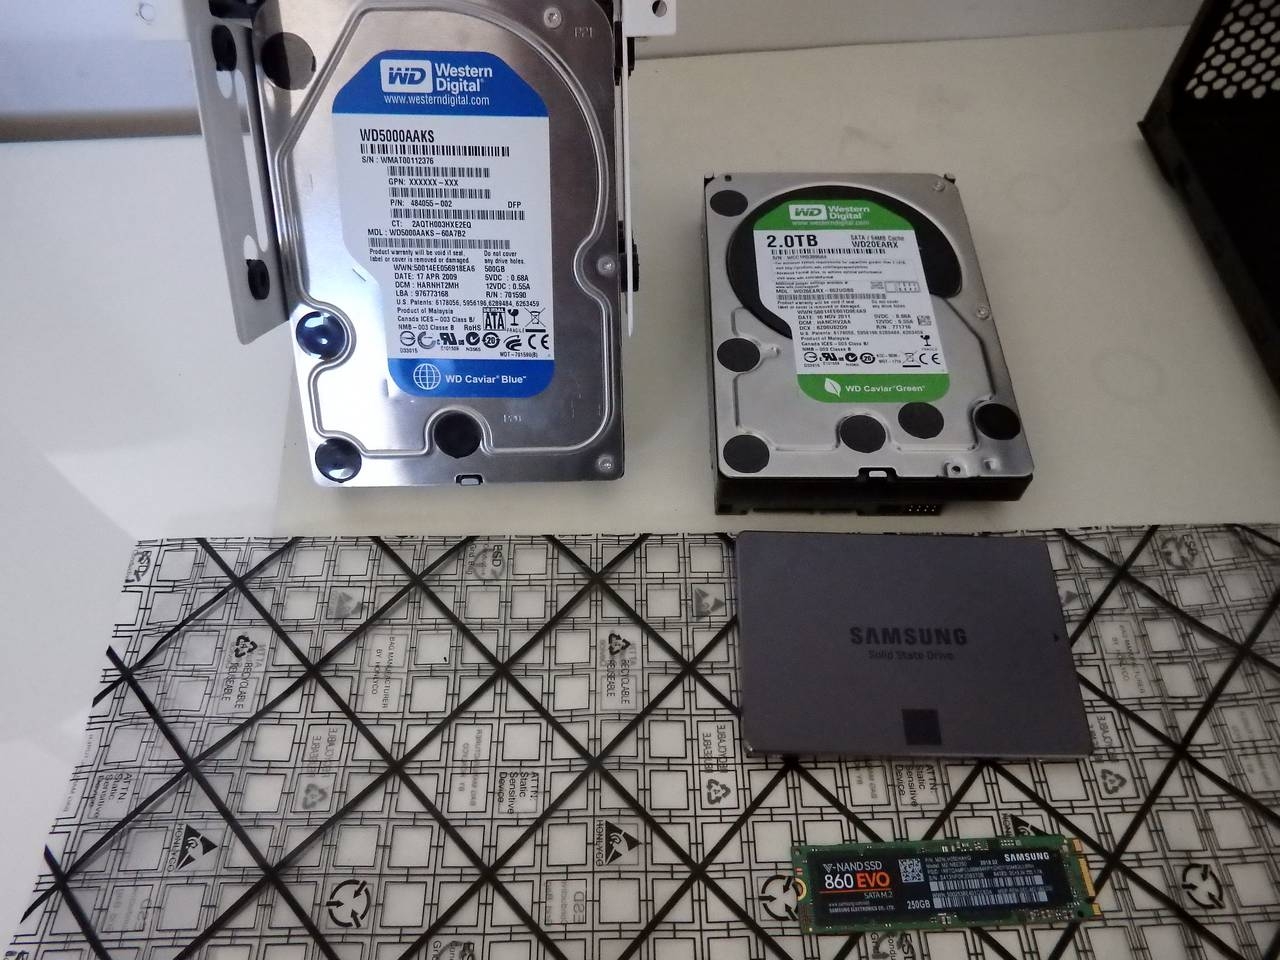
Next, I wanted to look at the storage. The original system had 2 x OCZ Vertex 60GB SATA II (that’s right, SATA 2) in RAID 0 and a 500GB WD Blue hard drive.
Using older, pre-loved storage devices like these Vertex SSDs in RAID 0 for your boot drive is one of the most irresponsible things you can do as a system builder because if you lose one, you lose the whole array. We wanted to see how long it would last and as it happens they lasted 5 years until being made obsolete.
One of the other technological improvements since 2015 is the tiered storage solution from AMD called StoreMI which allows the virtual fusion of a mechanical hard drive, an SSD and even 2GB of system memory if desired. Best of all, this is freely available on AMD X470 and B450 motherboard chipsets so the ASRock Steel Legend B450M had another tick in the box as a platform.
The design was to use a Samsung 850 EVO 250GB SATA SSD as the boot drive and then ‘fuse’ a Samsung 860 EVO M.2 250GB SSD with an older (and slower) Western Digital Green 2TB drive for the larger Steam, Origin and Blizzard libraries.
The StoreMI promotionary storage algorithm moves frequently accessed data to the faster tier storage (SSD) which makes subsequent loading times drastically faster. Effectively, this means that our old WD Green 2TB drive will get a new lease on life. The M.2 Samsung 860 EVO 250GB retails for about $95; if I was buying a new HDD for the project I would have gone for a WD BLUE or a Seagate Barracuda at $85 each for 2TB capacity.
Clean up
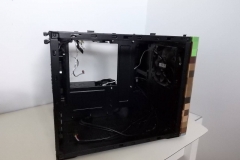
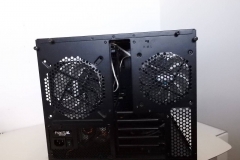
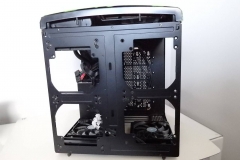
Before the build, I ripped everything out of the case and hit it with compressed air, wiped out the fans with a damp cloth and checked for anything out of place. This PC has been out on the road a bit and despite our best efforts, it’s had more bumps than the average LAN rig.
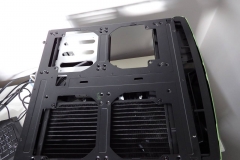
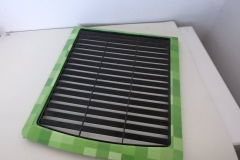
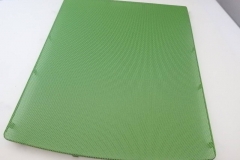
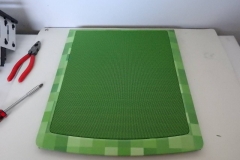
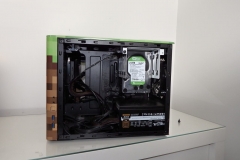
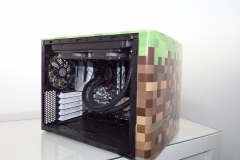
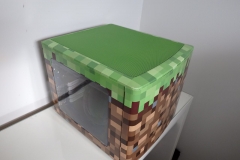
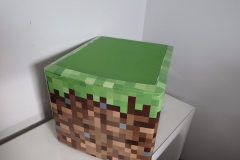
The top fan grille had certainly seen some action, needing both a clean and then a re-spray, but the custom printed vinyl was still in good condition thanks to some careful storage and respect on the desktop where it lived.
Luckily, I still had the original green spray paint so it was a simple matter of popping the grille out, giving it a very light sand before dusting a few light coats of paint. Re-fitting the grille back into the roof panel was actually more tricky as the vinyl wrap made the fit tighter. The original Node 804 has a coarse dust filter in the top panel but as ours is an exhaust and the vinyl wrap on the front covers the front grille, this was sacrificed for improved airflow.
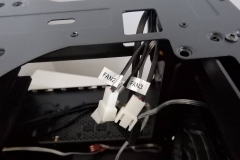
All fans are set to the low 5V speed via the Node 804 built-in fan controller for constant air movement, so dust collection isn’t a big concern. I’d rate this build as needing a clean out every 12-18 months with some compressed air and/or a soft cloth.
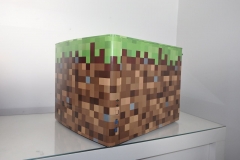
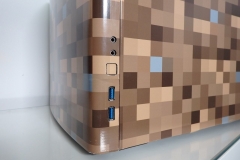
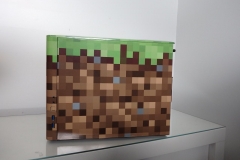
I had created and ordered two printed vinyl sets for the Node 804 in 2015 but was grateful that I didn’t need to re-skin the panels. The vinyl held up well, better than the paint without any fading or tearing.
Power and Cooling
The previous Fractal Design Kelvin S24 was a solid 240mm AIO water cooler but I needed something compatible with the AM4 socket. In all honesty, the stock cooler is fine for the 2400G and I also had a Wraith Spire RGB unit spare from a retail Ryzen 7 1700 that would have been a little better, but there is always the chance that we might want to overclock the VEGA 11 graphics. The other consideration is that a water loop would make less noise, perform better thermally and also look good in what is, after all, a tribute PC for one of the most iconic games ever released.
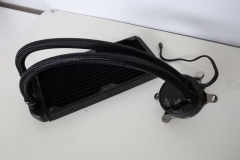
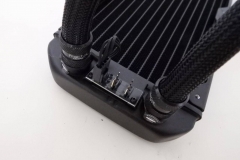
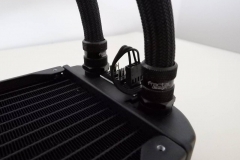
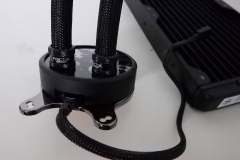
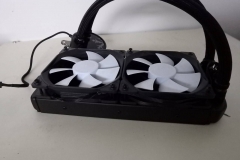
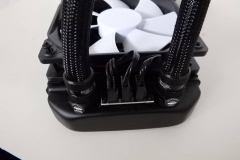
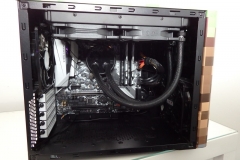
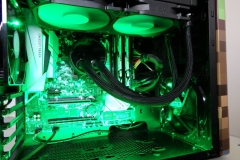
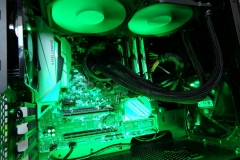
We still had a Fractal Design Celsius S24 AIO water cooler in the lab from a previous review. This is the successor to the Kelvin S24 unit I wanted to replace and had the standard ASETEK mounting bracket. One improvement that shouldn’t be overlooked is the way Fractal Design has implemented a single fan header from the pump/water block. The cables run inside the braided wrap around the hose to the radiator where a small controller board is present. You connect the 4-pin cables from the radiator fans to the connectors mounted under the end tank, between the hoses for a very neat result. The only connection to power is the cable from the water block at the CPU socket which can be concealed easily and connected to the CPU Fan PWM header.
The original Fractal Design Newton 1000W PSU was complete overkill back in the day but we used it as it was the only spare PSU available at the time. The PSU was ex-review stock and had done the rounds before we received it – it started to become unreliable in late 2017 and was removed. Since then we’ve had an even older Corsair HX-650 installed but as part of the refresh we wanted something without years of abuse on the odometer and went with the Fractal Design Edison 650W modular PSU. The hero of this build is the Node 804 case – the build needed a square case that could sit on a desk and this is one of the few cases that fit the brief. It only seemed right that we include our ‘spare’ Fractal cooler and power supply to keep it all in the family, so to speak.
Keeping it neat
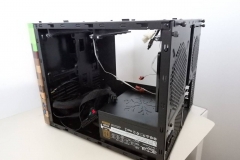
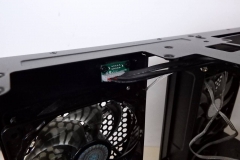
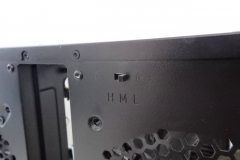
The right chamber of the Node 804 can hold 8 3.5″ hard drives via two sliding ‘hanger’ brackets. For this build, I just needed one 3.5″ HDD and a space to stash a 2.5″ SSD. The case has an integrated 3 fan controller with high, medium and low settings that uses a SATA power connector. I crammed most of the cables in behind the WD Green hard drive with the SSD to keep it as neat as practical then zip-tied the rest of the cables in the floor area of the PSU chamber.
Without a graphics card and PCIE cables to worry about, the main chamber was pretty neat anyway.
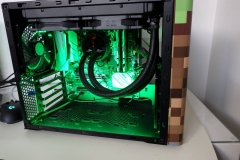
I had a spare Deepcool RGB kit from a previous project on hand and grabbed one of the two RGB strips with the 4-pin header. This was mounted under the window of the case and connected to the RGB header at the lower edge of the Steel Legend – ideally the LED cable would have been 3-5cm longer but it worked out ok.
All Done
The final specification for the revamp of the Minecraft Tribute PC is below. I’ve kept the components in line with the minimalistic original brief and aimed at the student gamer who obviously loves Minecraft and appreciates some pop culture in their study.
- AMD Ryzen 2400G with VEGA 11 Graphics (Raven Ridge)
- 16GB (2x8GB) G.SKILL SNIPERX 3400MHz DDR4 (Urban Camo)
- ASRock B450M Steel Legend Motherboard
- Fractal Design S24 Celsius 240mm AIO water cooling kit
- Fractal Design Node 804 Case painted and vinyl wrapped
- Fractal Design Edison 650W modular power supply
- Samsung EVO 850 SATA 250GB SSD (Boot)
- Samsung EVO 860 M.2 SATA SSD (StoreMI fast tier)
- Pre-loved Western Digital 2TB Green HDD (StoreMI slow tier)
- Deepcool RGB LED kit
After assembling everything together and running up Windows 10, the software installation went together without any issues. Gaming performance was per our review last year and we’ll cover it again with some more benchmarks soon as a follow up article. The PC will be used in a study now as a real world use-case for students who will do homework on the PC and play games like:
- Minecraft
- Sims 4
- Spore
- Trackmania
- LEGO Star Wars
- Forts
- StarCraft II
- World of Warships
- CS:GO
- Audiosurf
Whilst the graphics rating of this rig has received a technical ‘downgrade’ from the discrete (overkill) GTX 960 card to the integrated VEGA 11 graphics of the 2400G, the only reason we had the GTX 960 in the build was because integrated graphics weren’t adequate in 2015 and I had a spare card on the shelf from Gigabyte.
In the interests of being thorough, we’ve had a student use this PC for about a month for school work, web browsing and gaming (mostly Minecraft, Sims 4 and LEGO titles). The feedback was that the Minecraft Tribute PC is “quick and awesome” with no issues. The wrapped case gives the study a little more personality.
Any visits to events for this PC will now be more limited as the case has endured a lot over the journey. That said, this refresh has revitalised the core platform allowing the Minecraft Tribute PC to live on for another few years at least as a talking point and unique custom PC mod. In many ways, the 2019 refresh is what the ideal build would have been when it was first envisaged.
Time for some acknowledgements.
I’d like to sincerely thank AMD, ASRock and Fractal Design for making this refresh possible – without their support it simply would not have happened.
I also want to thank Mojang for the inspiration – Minecraft has given so many people a place to explore and showcase their creativity. Personally, I’ve had some hilarious and rewarding moments with my family on a locally hosted server just for us, building and solving problems together.
If you have any questions about the performance, the build or any benchmarks you’d like us to run, send us an email or leave a comment and we’ll see what we can do.





Did you paint this or is it a wrap of some kind?
Found the old build log :/ I guess I was wondering who did you get to custom make the vinyl?
I had the vinyl printed by a local printing company that prints signs on Vinyl for company cars, shop fronts etc. The two sets of printed Vinyl cost about $200 AUD. I just had to send the image and the desired dimensions to the printing company. I created the image in MSPAINT (at a pixel level to keep the lines sharp) as a lossless bitmap in a rectangular shape. This meant that I could cut it as needed and wrap each panel from the same sheet. There was a separate sheet for the top.
Also, the Node 804 has vents at the front that are covered by the wrap. The front fans can draw air in through the underside of the front panel and I’ve never had thermal issues at all from covering them but your experience may vary depending on what you have in the case. We didn’t see any issues with an overclocked i5-2500K and a GTX 970 graphics card so most modern configs should be fine in a build like this.