Test Setup
The test setup we used also doubled as our practical build. This is a compact gaming rig and the process of building a legitimate gaming setup helps to identify the elements of the motherboard that are well thought out and perhaps less obvious as well as things that might be less practical than they seem when just looking at the board in the box. In this exercise, we had the Fractal Design Core 500 ITX case handy which can accommodate a number of full sized components despite its compact size.
| CPU | i5-6600K | |
| CPU Cooler | Noctua NH-U12S | |
| Memory | 16GB Kingston Savage DDR4 3000MHz (2x8GB) | |
| Case | Fractal Design Core 500 Mini ITX Case | |
| Hard Drive | SAMSUNG EVO 840 240GB SSD, Seagate 1TB 7200rpm HDD | |
| Power Supply | Fractal Design Integra R2 750W Modular PSU | |
| Graphics Cards | MSI R9 380 Gaming 4G & AMD Radeon R9 Fury Nano | |
| Audio | Kingston HyperX Cloud | |
| Network | Direct connection to the cable modem & Shared Gigabit connection via ASUS RT-AC68U router |
|
| Optical | N/A | |
| OS | Windows 10 |
Overclocking
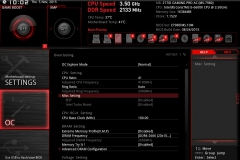
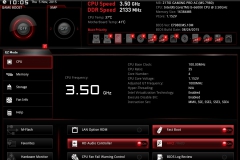
Intel provided us with an i5-6600K CPU so I didn’t go too crazy with the overclock but I did manage to hit 4.5GHz and have it OCCT stable. My 4.6GHz attempt was game-stable but not OCCT (our stress testing utility) stable. We saw the same overclock on another Z170 motherboard so it seems that the MSI Z170I Gaming PRO AC was hitting the CPU limitation, and not limited by the power delivery or BIOS.
GameBoost was effective and easily stretched the CPU that little bit further without any effort or real risk.
BIOS/UEFI Configuration
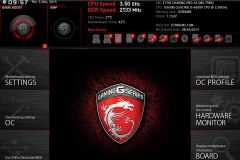
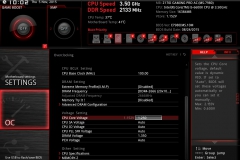
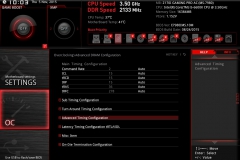
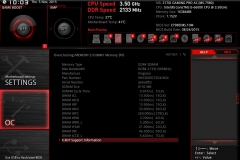
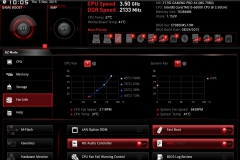
The BIOS was easy to follow and didn’t have any issues with our peripherals. The XMP detection on the RAM was spot on and the Kingston HyperX Savage DDR kit was identified right away.
Practical Build
This was also my first time building with the Core 500 ITX case but the build came together really quickly. Fitting the Noctua SecuFirm 2 mounting bracket was simple, the I/O shield went in without any excessive force required and the motherboard seemed to just drop into place effortlessly. I’d taken a few minutes to plan out the cables and with the exception of the front panel I/O connections, everything went together embarrassingly easily. The front panel I/O connections were a little bit fiddly and I had to reference the manual to make sure I didn’t get them in the wrong places. A front panel quick-connector that MSI has included in previous motherboard packages would have been really handy here. Given how well laid out the board is, I’ll take the good with the ‘less convenient’ here.
The pictures in the gallery below show how good the socket clearance really is. This consideration for the system builder can be the difference between:
- a quick build and a slow one
- straight forward component installation and an exercise in frustration
- a neat end result and a messy one
The more efficient the airflow with less obstructions means that the fans shouldn’t have to work too hard or force air through the case – resulting in a quiet running system. The 120mm cooler had enough room around it that there was no risk to the graphics card of the fan clips shorting out the PCB.
At the end of the practical build, the result was something that I’d be happy to game on any day of the week. The whole setup made very little noise, was easy to transport and, from a pure gameplay perspective, gave basically the same experience as the MSI X99S Gaming 7 full ATX setup.

