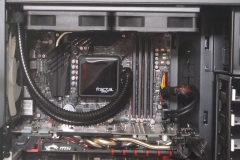
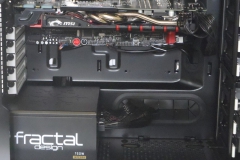
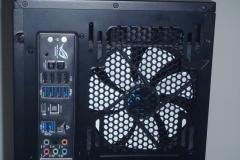
We make every effort to undertake a practical build inside any case that we review – it’s our belief that we don’t really fully appreciate the design and build quality unless we have actually built a rig in it and used it for a period of time. In this review, we used our ASUS Maximus VI Gene motherboard from the standard test bench but we also had the opportunity to check out some other new kit as well. The full parts list can be found below.
Practical Build
The test components we used are listed below
| CPU | i5-4670K |
| Motherboard | ASUS Maximus VI Gene |
| CPU Cooler | Fractal Design Kelvin S24 (240mm AIO Water unit) Cooler Master Nepton 120XL (120mm AIO Water Unit) |
| Memory | 16GB Corsair Vengeance Low Profile – Black (4x4GB) |
| Hard Drive | Seagate Barracuda 750GB & Samsung Evo 240GB SSD |
| Power Supply | Fractal Design Integra M 750W PSU |
| Graphics Card | MSI GTX 760 HAWK (Initially) MSI GTX 980 Gaming OC 2xGigabyte GTX670 OC Windforce3 SLI |
| Audio | Mionix Nash 20 (using onboard audio) via front panel I/O |
| Network | Direct connection to the cable modem & Shared Gigabit connection via Netgear WNDR3700 router |
| Optical | Samsung USB external DVD drive |
| OS | Windows 7 |
The Build Experience
When building our test rig, we noted some positive attention to detail in the Define R5.
Central Motherboard stand-off
The central stand-off has a ball head instead of a screw thread – this is great for fitting the board and holding it in place while you insert the remaining motherboard screws. Hopefully this becomes more common in the future.
No more MOLEX fan controller!
The power connector for the fan controller is a SATA connector – this is about damn time! The only thing I ever need a MOLEX connector for is fan controllers (or maybe LEDs) and when using a modular power supply like the Integra M, it means that you don’t need to use a whole cable just for a pair of fans. The fan controller is inside the front door – this wasn’t an issue for us as we left it on low speed for general use and gaming, medium for SLI.
SSD mounting behind the motherboard tray
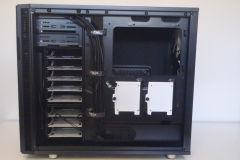
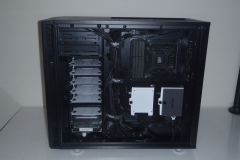
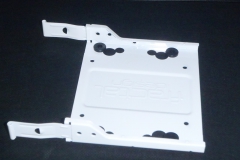
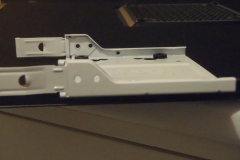
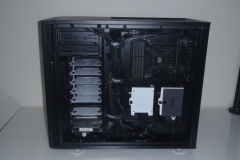
SSD mounts under the motherboard tray – big thumbs up to the designers here. The tray is really easy to work with and in the case of our Integra M power supply, it uses a flat 8 PIN CPU power cable which can be neatly tucked in behind the SSD. Installation was a breeze and the way the trays swing in to be secured by a thumbscrew just works – it’s simple but really effective.
It’s also worth noting how big the CPU cut out is and we are firm believers that more is better here. The motherboard tray is rigid so there is no structural issue with sizing the cutout for maximum compatibility and convenience.
Improved hard drive trays
Hard drive trays in the R5 have a much lower profile so they allow more air to pass through them with less impedance when empty. There was nothing wrong with the previous drive cage design that we have seen in the Fractal Design cases released over the past 12 months, you could still remove the 3.5″ drive cages, rotate the middle cage and the drive trays had rubber vibration dampeners. This is an area that we were not expecting to see any improvement but the lower profile drive trays and easily removable optical drive bay are welcome changes for system builders who want better airflow or high end water cooling.
Cable routing made even easier
The cable routing system behind the motherboard tray is awesome. The motherboard tray is not perfectly flat in that there is an angled section on the right side where the vertical cable grommets are and along the bottom of the case. There are also Velcro strips in place to keep those cables neat. My cable management job was done in haste and still came up looking pretty neat. Cable routing was really easy and the pathways for the cables along the base of the case in the front edge of the motherboard tray worked really well. The velcro strips are well placed and make reconfiguration much easier than zip ties. This is a different approach from the traditional flat motherboard tray. Fractal Design has also included more than enough anchor points for zip ties but we found ourselves using less zip ties on this build than usual.
Fractal Design have made the most of the angles and it’s deceptive as there is more space back behind the motherboard tray than it looks.
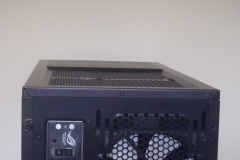
The space around the power supply is ample. We used a 140mm power supply and I’d recommend it if you plan on moving the drive cages around to take more advantage of the floor space.
Swing out side panels
The side panel on the right side of the case (under the motherboard tray) is a swing panel that pivots from the front of the case rather than a sliding panel. This also helps if your cables are a little tight and there is some minor squashing required. A slide-lock panel can be tricky if you have any cable bulge back there but the swing/pivot panel makes life a bit easier if you have this problem. The thumb-screws don’t come completely out of the panel either so you won’t be losing them anytime soon. They un-screw far enough for the panel to open but they don’t completely detach – convenient
Head room
The Define R5 has enough head room to easily reach that top 8-PIN CPU connector and CPU Fan headers and it provides a generous amount of clearance for fans or radiators. The offset is also well implemented to clear CPU power connectors, motherboard heat sinks and memory modules so that you can use a standard radiator, thicker radiator or go push pull with the fans.
Cooling
A few things caught our attention here, the rear fan mount, CPU cooler clearance and a ventilation panel.
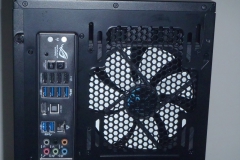
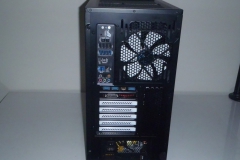
That rear fan mount for a 120/140mm case fan or AIO water unit is brilliant. Rather than just using a standard set of appropriately spaced holes, the designers implemented a set of ‘sliding’ brackets that allow you to adjust the vertical placement of the fan or fan/radiator combo. This means that if you have a roof mounted radiator setup, you can easily shift the rear fan down a bit to avoid any clashes.
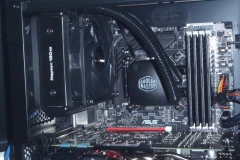
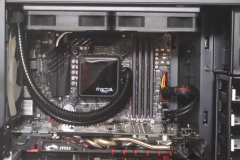
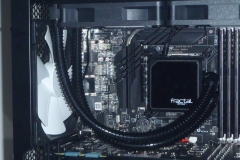
We tested the Define R5 with both a roof mounted 240mm AIO water cooler (Fractal Design Kelvin S24) and a rear mounted 120mm water cooler with push/pull fan configuration (Cooler Master Nepton 120XL).
The max CPU height in the Define R5 is 180mm – I’ve never seen a cooler that tall before but the space is there.
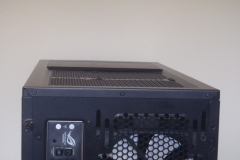
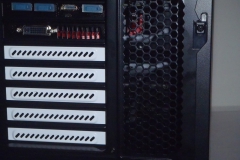
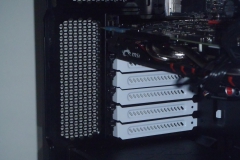
There is a vent at the back/right above the PCIE slots that provides a meshed area of 55mmx140mm. This will work well with graphics cards that have non-reference coolers as it will give the warmer air somewhere to go if the top MODUVENT panels are in place.
Dust filtering
There are 2 dust filters included, a full length filter fitted in the floor of the case and a double fan filter in the front. These are really important if you plan to use the Define R5 for a home server or HTPC that is on most of the time. It’s amazing how much those filters catch, even in a ‘clean’ house. You will never eliminate dust in your rig but these filters will make a difference and they come out easily for cleaning.
Minor Gripe
At the end of a build, there is usually a compromise or oversight that we identify – after working with the Define R5, there was only one.
The top cable hole/grommet for the 8-PIN CPU power is a little too small with the grommet fitted. During the build, we had to displace the grommet to get the cable through and then pass the grommet over the head of the 8-Pin plug and re-fit it into the hole in the tray. It didn’t take long but is worth noting. If you buy this case, run the 8-pin CPU power cable before you install the motherboard.
All Done
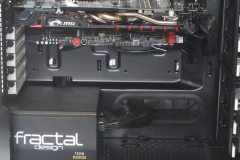
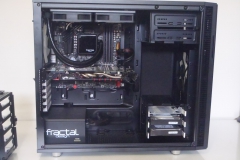
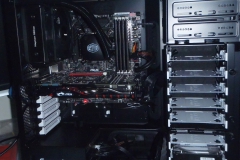
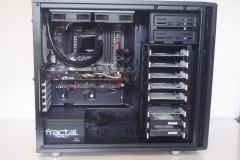
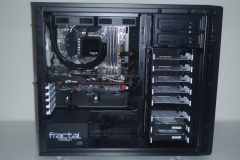
The completed build came together quickly and easily. I could have been obsessive about the cabling but settled for ‘neat’ instead. The shots below are what you can achieve with minimal effort but some forward planning.

