Introduction
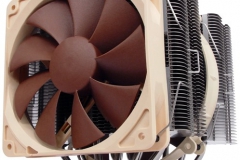
This cooler has been around for a while and reviewed to death. The positive reviews and its reputation for quiet operation were the main reasons for our decision to include it in our Fractal Design: Define R3 Home Server build. We wanted something quiet and even though we didn’t really care about overclocking the CPU, it’s always nice to have the option in case you “repurpose” the hardware later.
Ease of Installation
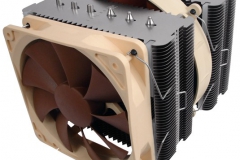
Every review we saw said that this thing was big and well… It is. The first thing Pete said when it came out of the box was “Geez, that thing’s a behemoth”. It sure is a big unit and I was expecting it to be cumbersome to work with but in the end it was no more difficult than other smaller coolers I’ve worked with – in fact it was much easier than my older and smaller Thermalright Ultra 120 because of the mounting system and fan clips.
The instructions were easy to follow and the installation of the back plate was very straight forward. As we noted in our build log for the R3 server, you ‘could’ get the orientation wrong if you’re not paying attention but if you follow the instructions to the letter, there’s nothing to worry about.
The mounting bracket it brilliant and one of the best we have used. It really IS that easy to mount this thing. At a high level:
- Install the base plate
- attach the mount arc brackets
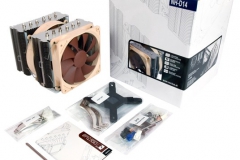
- dab on a little thermal compound (they give you a full tube of NH-11 for this and you will only need a tiny bit)
- Slide on the heat sink and rotate into place
- Screw in the 2 mounting screws until they stop
- Drop in the 140mm fan you’re away
We installed the back plate and brackets on the motherboard before we installed the motherboard into the case, then we installed the heat sink once the motherboard was secure inside the case. It was dead easy and we didn’t feel cramped for space.
The ND-D14 does overhand at least the first RAM slot so it’s very important to:
- Use low profile RAM (we used Corsair Vengeance Low Profile CML16GX3M4A1600C9B)
- Install the RAM first and pray that you don’t have a faulty stick 🙂
Power Connectors
When connecting the NH-D14 to power, we decided to use 12v Molex. Initially we didn’t’ use the included voltage reduction adapters as we wanted to see how loud it was at full tilt. It was audible, not high pitched or screaming like a jet engine but we couldn’t call it almost silent either. Next, we installed the adapters as per the instructions and the difference was night and day. The cooler was now very quiet.


